
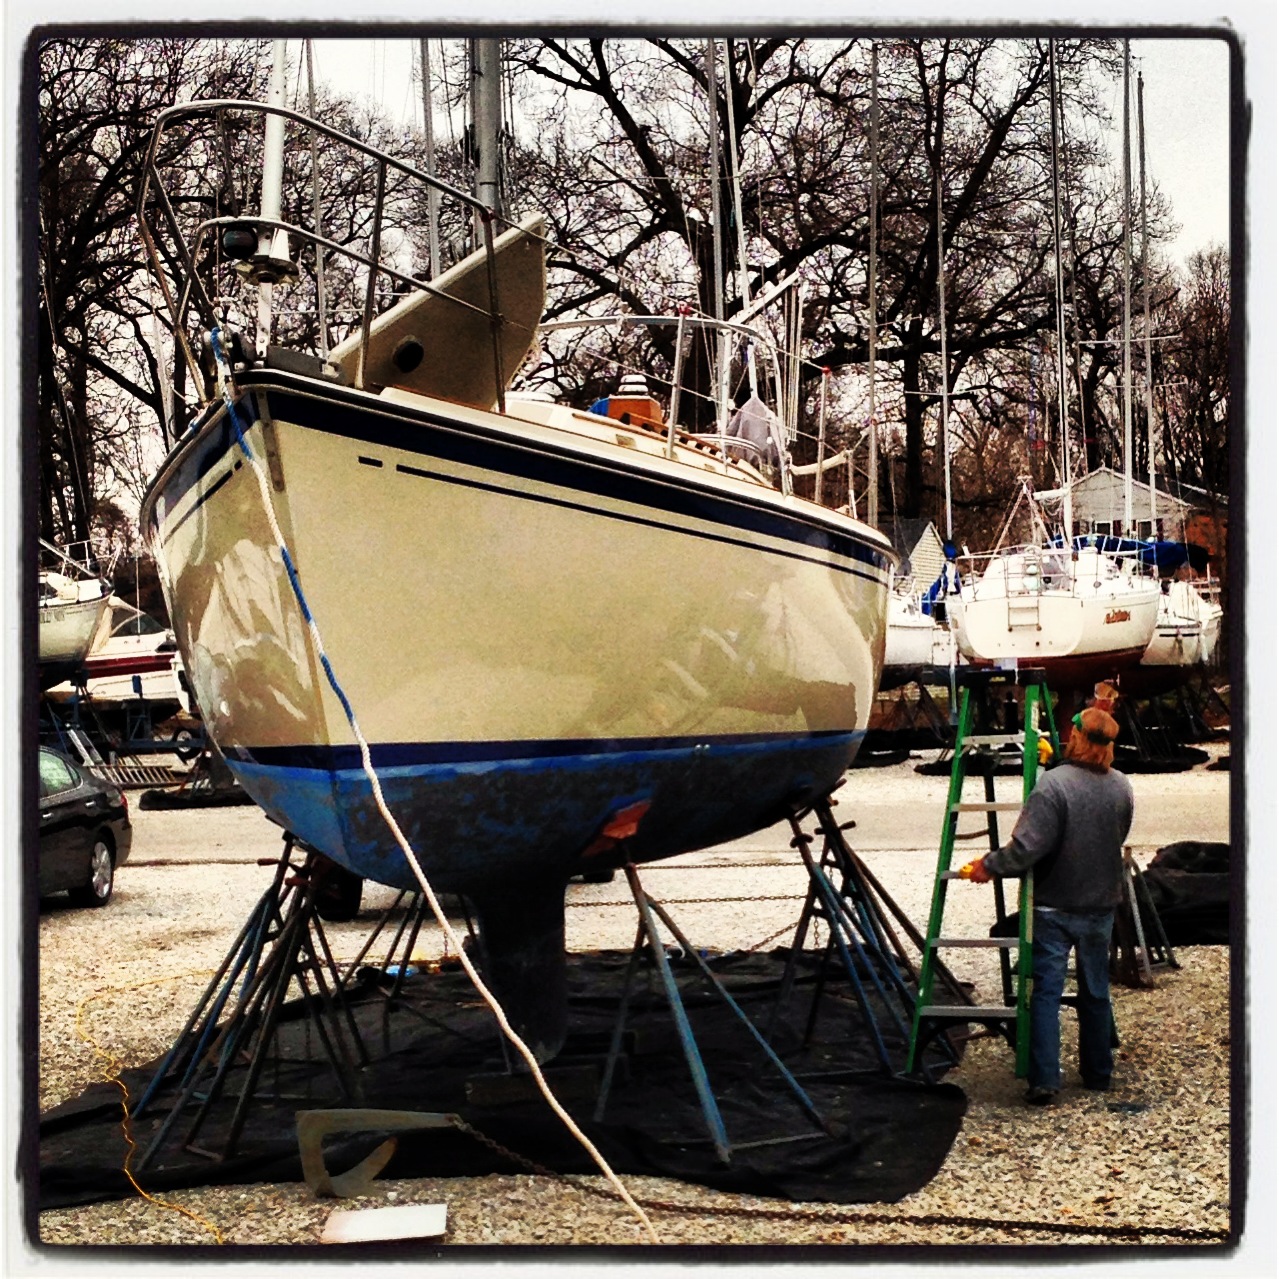
Sanders, scrapers, buffers, cleaners, epoxies, caulks, and paint, are the sounds and smells of the boatyard now that the weather has warmed up, at least slightly. And we have definitely put in our share of hours at the yard getting Journey ready for the upcoming season. At the end of the season last year, in addition to the regular winter decommissioning items, we had cleaned the hull to get rid of the ugly yellow-brown mustache that Journey had on the waterline and removed some through-hulls for replacement in the spring. We wanted to replace the one for the engine intake since it had some corrosion from a bad bonding connection and the other one was for the water intake for the head that accidentally might have had the seal broken when winterizing the system and we didn’t want to take a chance on it leaking later. So the first trip to the boatyard once the weather had warmed a little was for measuring things and preparing the holes in the boat for new through-hulls. After that it was time for one of the worst chores as a DIY boat owner, sanding the bottom. Some people seem to sand way less that we do and maybe they do not find it to be as awful of a task, but I believe I do it how the paint manufacturer recommends for the best adhesion of the new paint and it creates a toxic dusty mess that requires a Tyvec suit, respirator, and shop vac attached to the sander. Thankfully, even on a 35′ boat, sanding is only a one-day job.
After sanding the bottom, I got to do what I had been waiting all winter for, polishing the gelcoat. The initial cleaning at the end of last year got rid of the stains and marks that Journey had on her topsides, but there was not much shine. I had done some web research and found a forum post where someone seemed to have perfected restoring gelcoats to like-new condition and made some tool and product recommendations that I admittedly bought hook, line, and sinker. It was a little pricey because a new tool was involved, but we figured if it could produce the results it would be worth it and at least the tool could be reused in the future. So I ordered everything back in November in anxious anticipation of getting Journey back to her former beauty. Well after spending 3 full days compounding, polishing, and waxing, we feel like it was worth it. Almost every boat owner working nearby has asked what we used and how we got her looking so good! People just could not believe she was a 1986 boat! We still don’t know if it was the tool, the products, or the technique, but we owe a big “thanks!” to whomever uses the handle Maine Sail for the recommendations and if we ever make it to Casco Bay, Maine, I want to buy him a beer.
Journey all shined up
Even though I wanted to apply another coat of wax to protect the high-gloss finish, the looming already scheduled launch date was causing me to prioritize some other things because of the order things needed to be done. That meant not waxing (yet ;) ) but installing the through-hulls. The guru Maine Sail also had a write-up on through-hulls and I found out that the way it had been done previously was not quite the way it should be. Of course, I had to do it the right way, or at least what I believe to be the best compromise of budget constraints and robustness with the option of future valve replacement. I had to increase the size of the through-hull for the engine intake and also had to drill 3 new holes in the bottom of the boat for the bolts that secure the flanges for each of the new through-hulls. Those bolt holes use countersunk screws that get caulked and then filled with marine filler so they should not really be much concern for leaks in the future. The engine intake also had a scoop strainer that had some mounting holes that needed filled before the new through-hull could even be installed. I even elected to enlarge these holes slightly near the surface of the hole for more adhesion area and making it easier to force the thick putty-like marine filler in the holes. Once all the new holes were drilled but before the old ones were filled the boat sort of looked like Swiss cheese and almost cause for concern!

Engine intake holes before filling and through-hull install
