
You’ll have to bear with us here. Since we’re not full-time boat folk at the moment, my new Sailrite was broken in on a work project. I know, I know, “work” is a dirty word in the world of cruising, but it’s a nasty reality that this crew is currently facing… So, sorry to disappoint you, but this post has ZERO to do with sailing. I promise not to turn the blog into teacher town or engineering life, but the fact of the matter is, we’re working folks at the moment. Sigh. Anyway, if you only read our blog for sailing and travel adventures… Skip this post. There’s nothing for you here :) Oh all right! I’ll give you one picture of our current state of depressing non-sailing-ness. Here’s what was going on when we went to winterize Journey:

Something is wrong here!
There. Now go away. I’m talking about work today!
As y’all already know, I am currently teaching 1st grade and my little people needed their own space. My previous experience had led me to believe that 1st graders would each have their own personal desk, but not so at my new school. We have big old chairs and long rectangle tables to deal with. I tried my old kindergarten protocols and gave out communal baskets for sharing supplies but learned quickly that, although only 1 year older, these little people want their own stuff! A trip to Wal-Mart’s after-back-to-school-sale blessed me with 30 pencil boxes for 10 cents each, and that did the trick for a while, but I could tell that my 1st grade friends still wanted a place to put their stuff! Plus, my patience for dealing with 28 6-year-olds getting out of their seat every 5 seconds to put a book away or pick up their writing journal was wearing very, very thin. So, I did a little research and came up with a relatively easy pattern for a chair pocket.

Here’s my sketch up of the chair pocket, side view.
Let me start by saying that I in no way invented chair pockets. I was introduced to them by one of my co-workers whose mother-in-law is a BOMB seamstress. Like for real, she is the bomb. She made a class set of chair pockets for “Mrs. Smith,” we’ll call her, that had Disney characters embroidered on them! They were perfect! Mrs. Smith’s friends (me included) were occasionally lent her hand-me-downs, when Mama Smith made Mrs. Smith a new set, but for the most part, we just drooled over them. Later, I commissioned my sister-in-law, whose is also a bomb seamstress, to do a class set for me and they worked very well for a whole bunch of years. I remember when she handed them over though, it was kinda’ like, “Please don’t ever ask me to do this again because these things are a b*tch to make and 30 is so, so, so many.” A few years later, I had a parent do some mending for me and she had to quit because she kept breaking needles! Making these chair pockets is not for the faint of heart and my trusty, beat-up set from my sister-in-law were too small for my 1st grade chairs!!! Dang it!
After a few weeks of teaching first grade (did I mention that I have 28 kids?) I knew I NEEDED them pronto. So I spent some time on Pinterst thinking, “There’s got to be an easier way!!” The trouble with these pockets is the hems and finishing the edges. By the time you fold and hem up each side, you’re dealing with 6 layers of canvas. That is a lot for a regular sewing machine! Not to mention the amount of prep work, all that ironing and folding… Grrrr. Y’all know how I feel about the prep work of sewing!
The day Jake and I started researching the Sailrite, it hit me. We were trying to figure out which package to buy and watching the videos that demonstrated each of the accessories. We came to the straight binding tool and I was like, “That’s it! Binding!” Although the Sailrite could totally handle the 6 layers of canvas, I still was not up for that much work! I figured I could hem the front and back, but sew binding, or bias tape, up each side instead of all those folds. Brilliant! I Googled “chair pockets bias tape” and found this little bloggy blog that hadn’t made it’s way to Pinterest. The rest is history :)
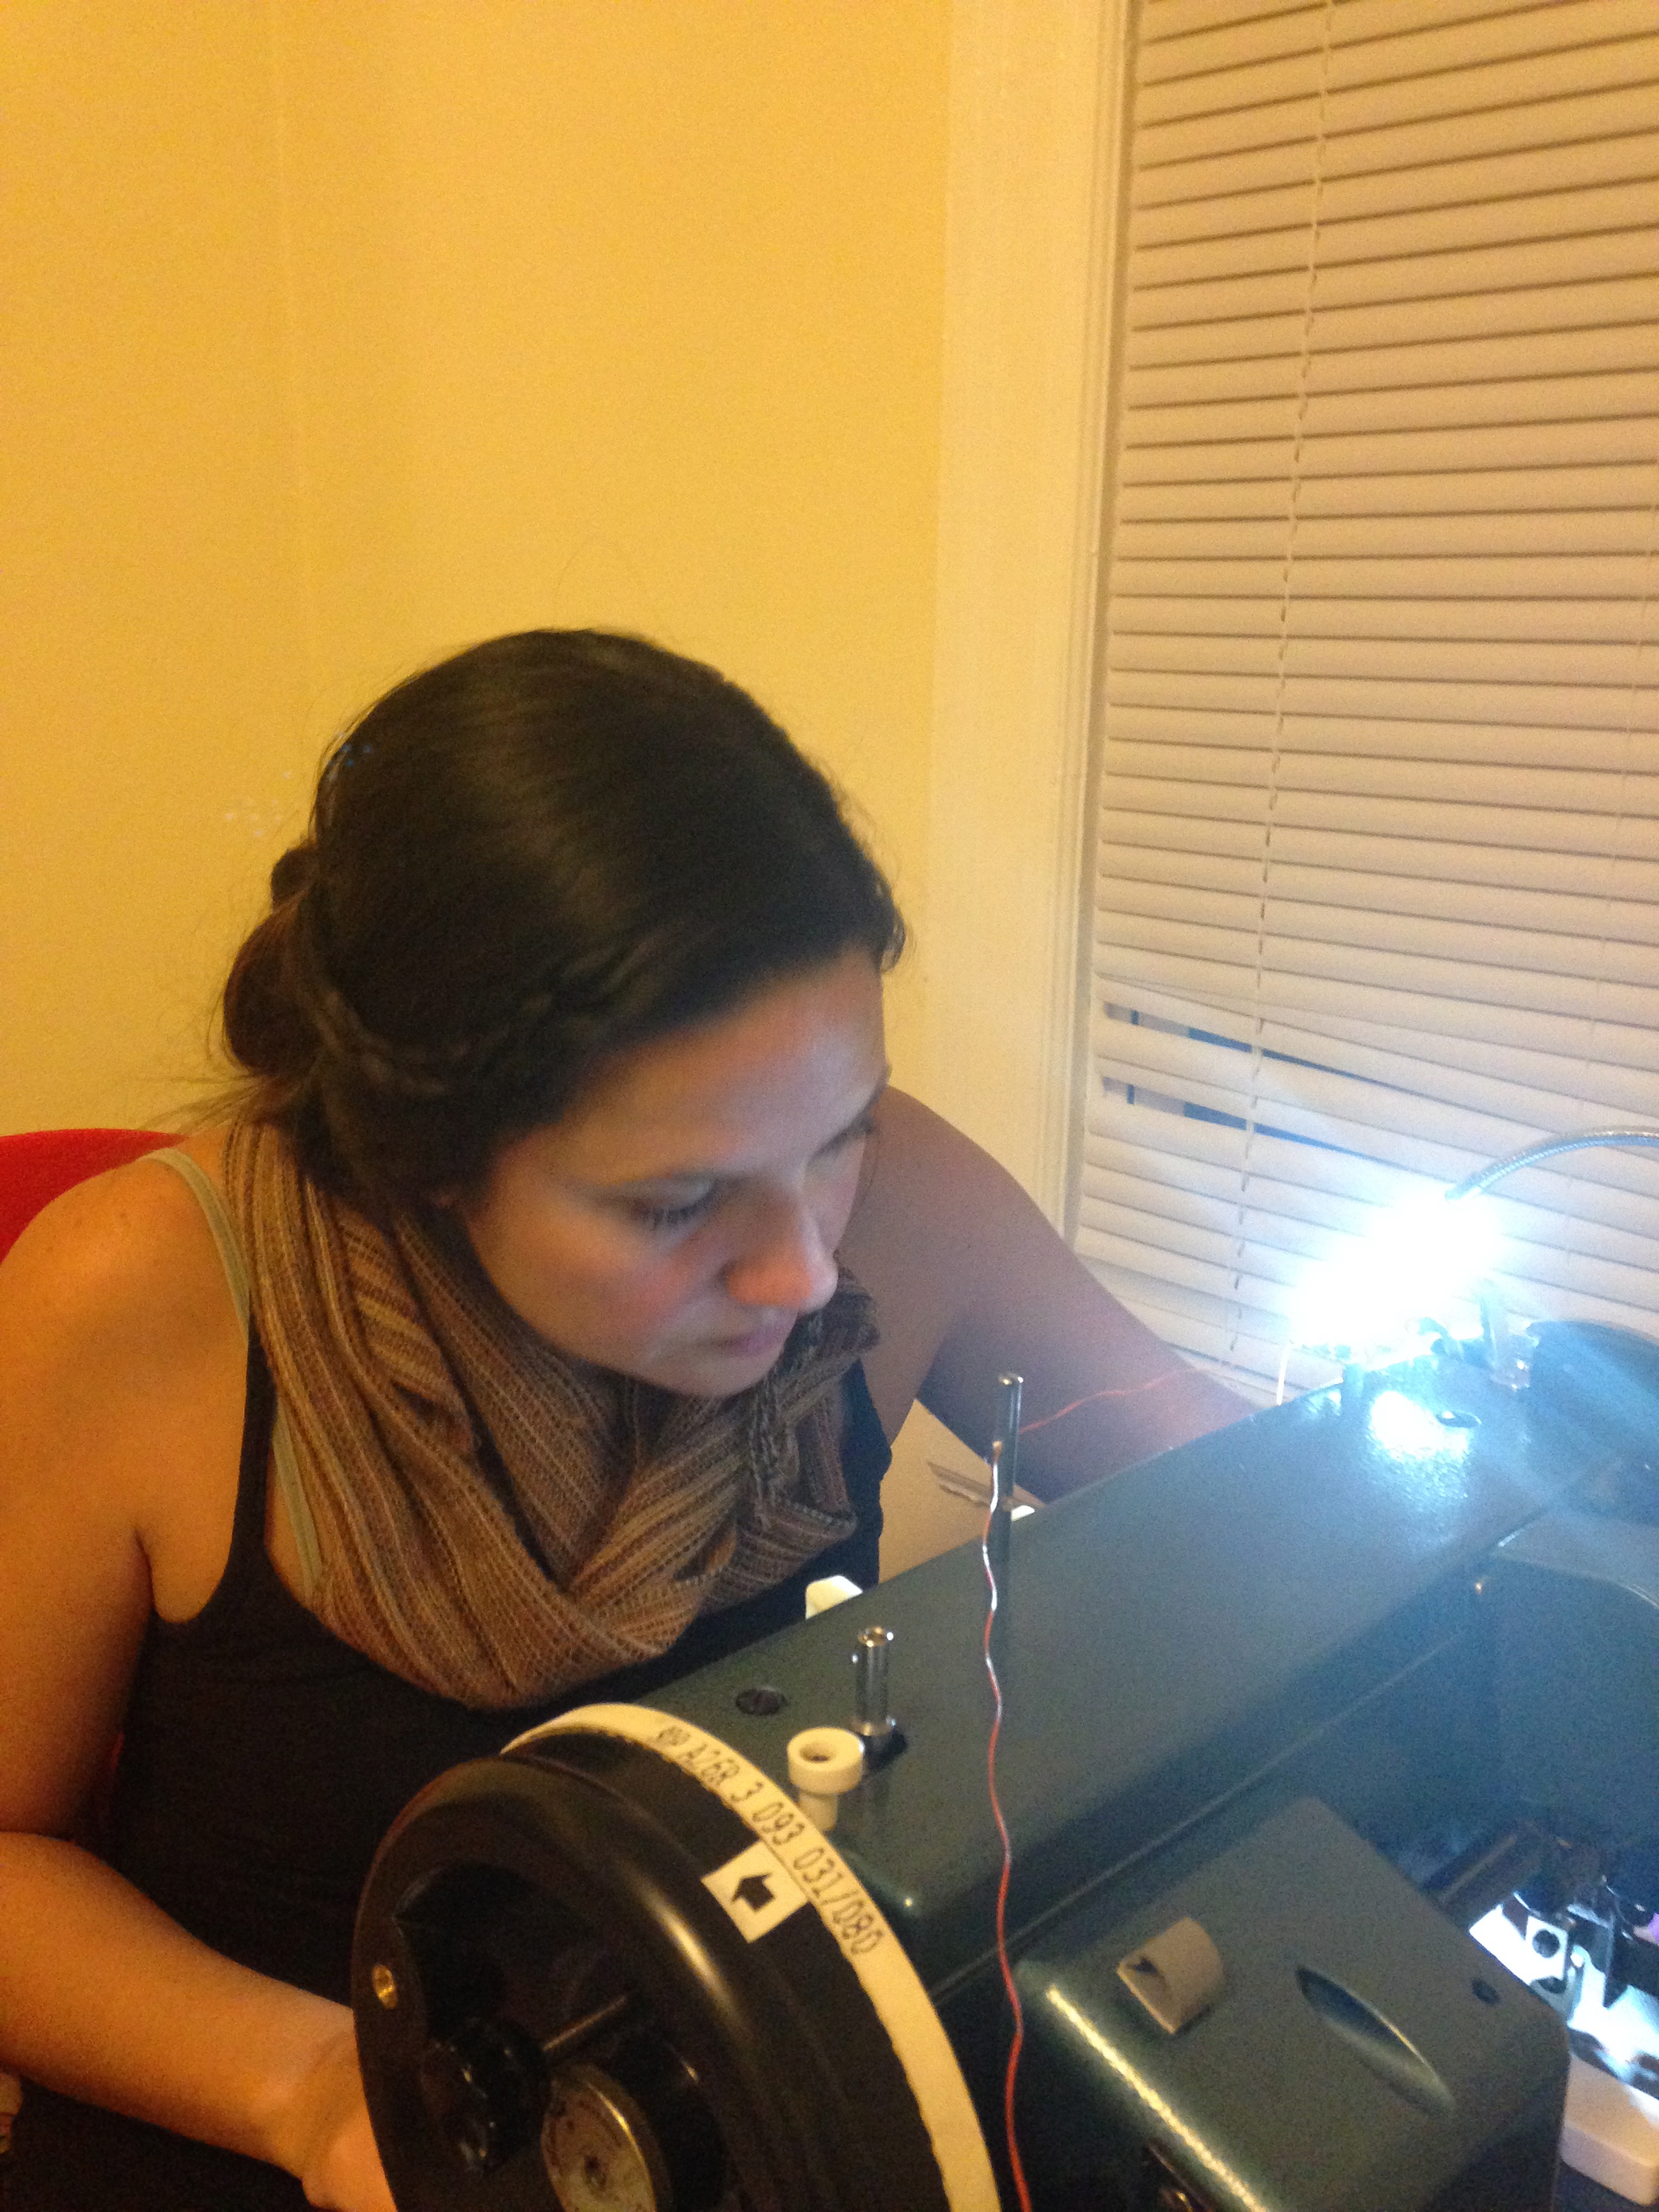
Me, at the helm of my new Sailrite!
I did my measurements and made a mock-up of what the pocket would look like. I made the prototype out of some old curtain material I had saved. Does it look familiar? I played with depths and sizes a bit, until I got something that seemed reasonable. I had a kid use it for a couple of days and made sure the pocket was the right size for her little arm :) If I was at school and wanted to see what a hem would look like, I used the stapler. Staples have become my best friend especially when dealing with stiff canvas for boat stuff. Thanks for that tip, Seamless Sailor <3
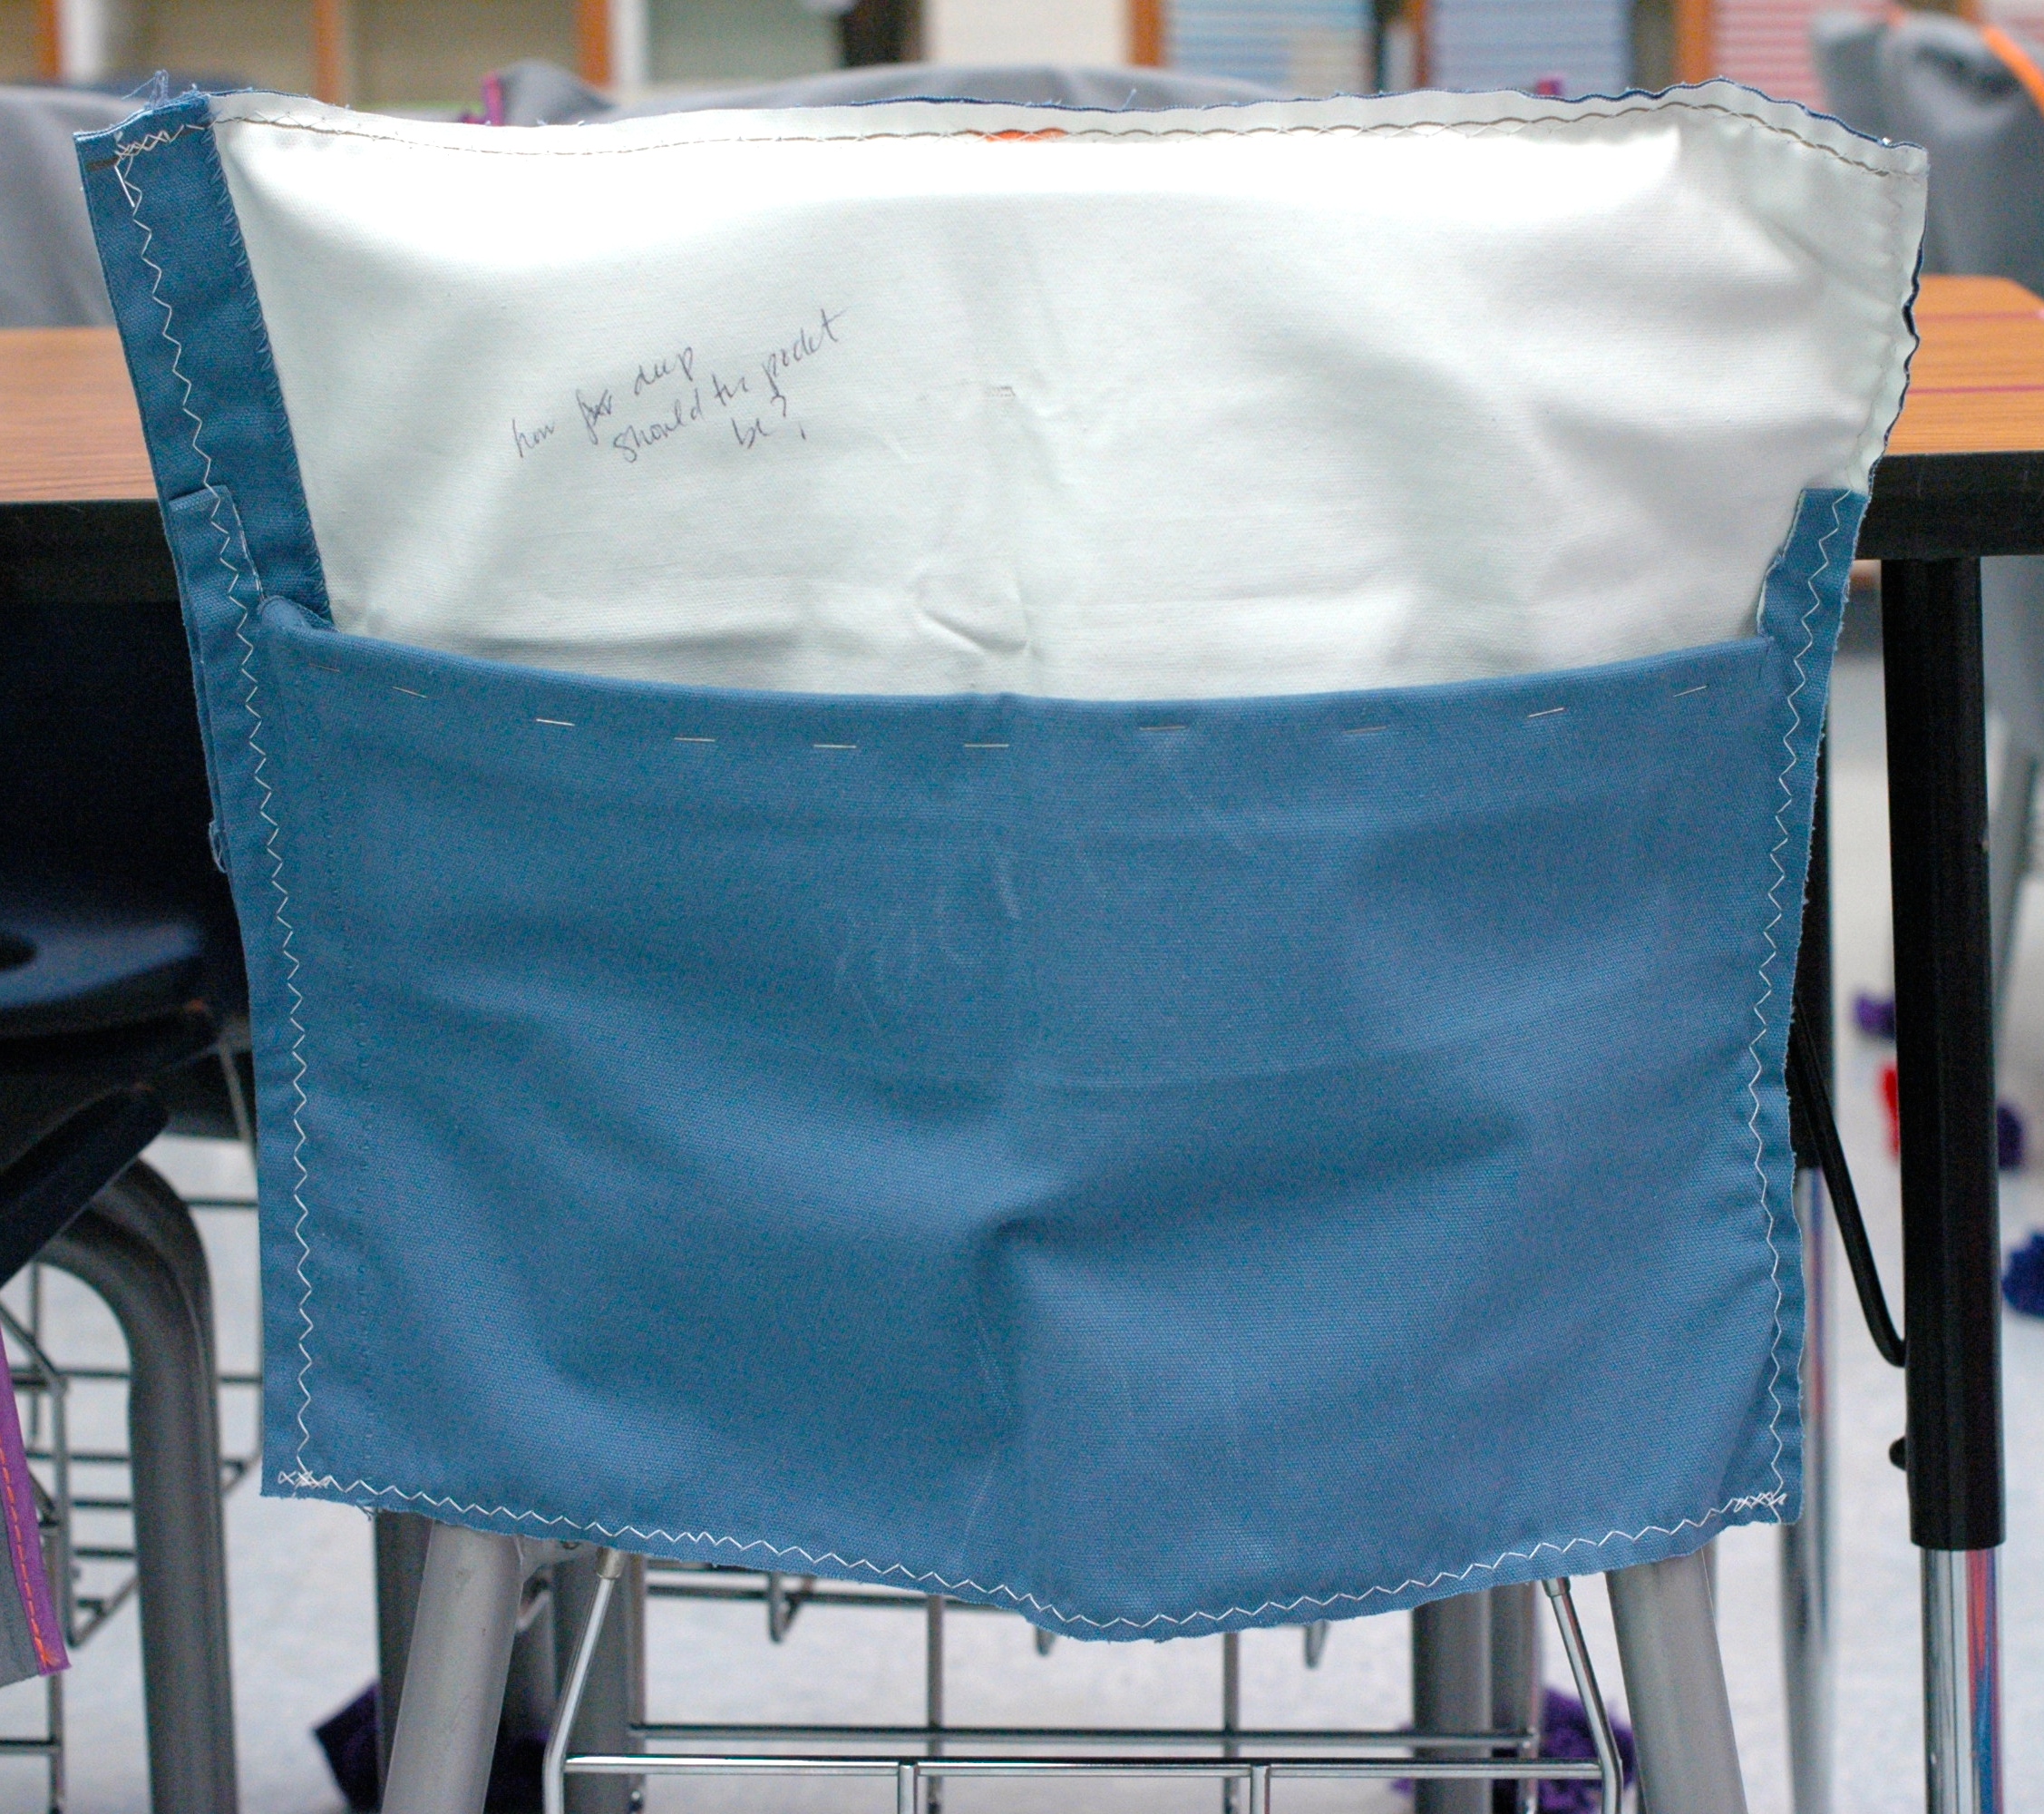
My prototype. Notice the cuts and staples, I had to get it just right!
A project like this is hard to do for just yourself, so as I was devising a plan, my co-workers gently hinted that they too would love some chair pockets. The way I saw it, the more pockets, the more practice, not to mention bulk prices. So I agreed to do it for 4 other teachers and ordered 60 yards of 12 oz. cotton duck from this wonderful company, 1900 yards of polyester thread, and a TON of extra wide, double fold, .5″ bias tape. Not counting my time, the cost for a class set of 30 chair pockets is about $135. That’s about $4.50 per pocket. Way cheaper than a 10″ Seat Sack ($12.13), which wouldn’t fit on our ginormous chairs anyway.
Once committed, I had to learn about bias tape. There’s a lot to learn. I thought I got it, then I went to JoAnn and bought what I thought I needed, grabbed the wrong stuff by accident, and turned out to be what I really needed instead. There’s single fold and double fold. I eventually went with extra wide, double fold, .5″ which finishes the edges at a half inch. The single fold only ended up measuring .8″ which didn’t really work in the binding tool. Well, neither of them did, but I’ll get to that later…

So many choices…
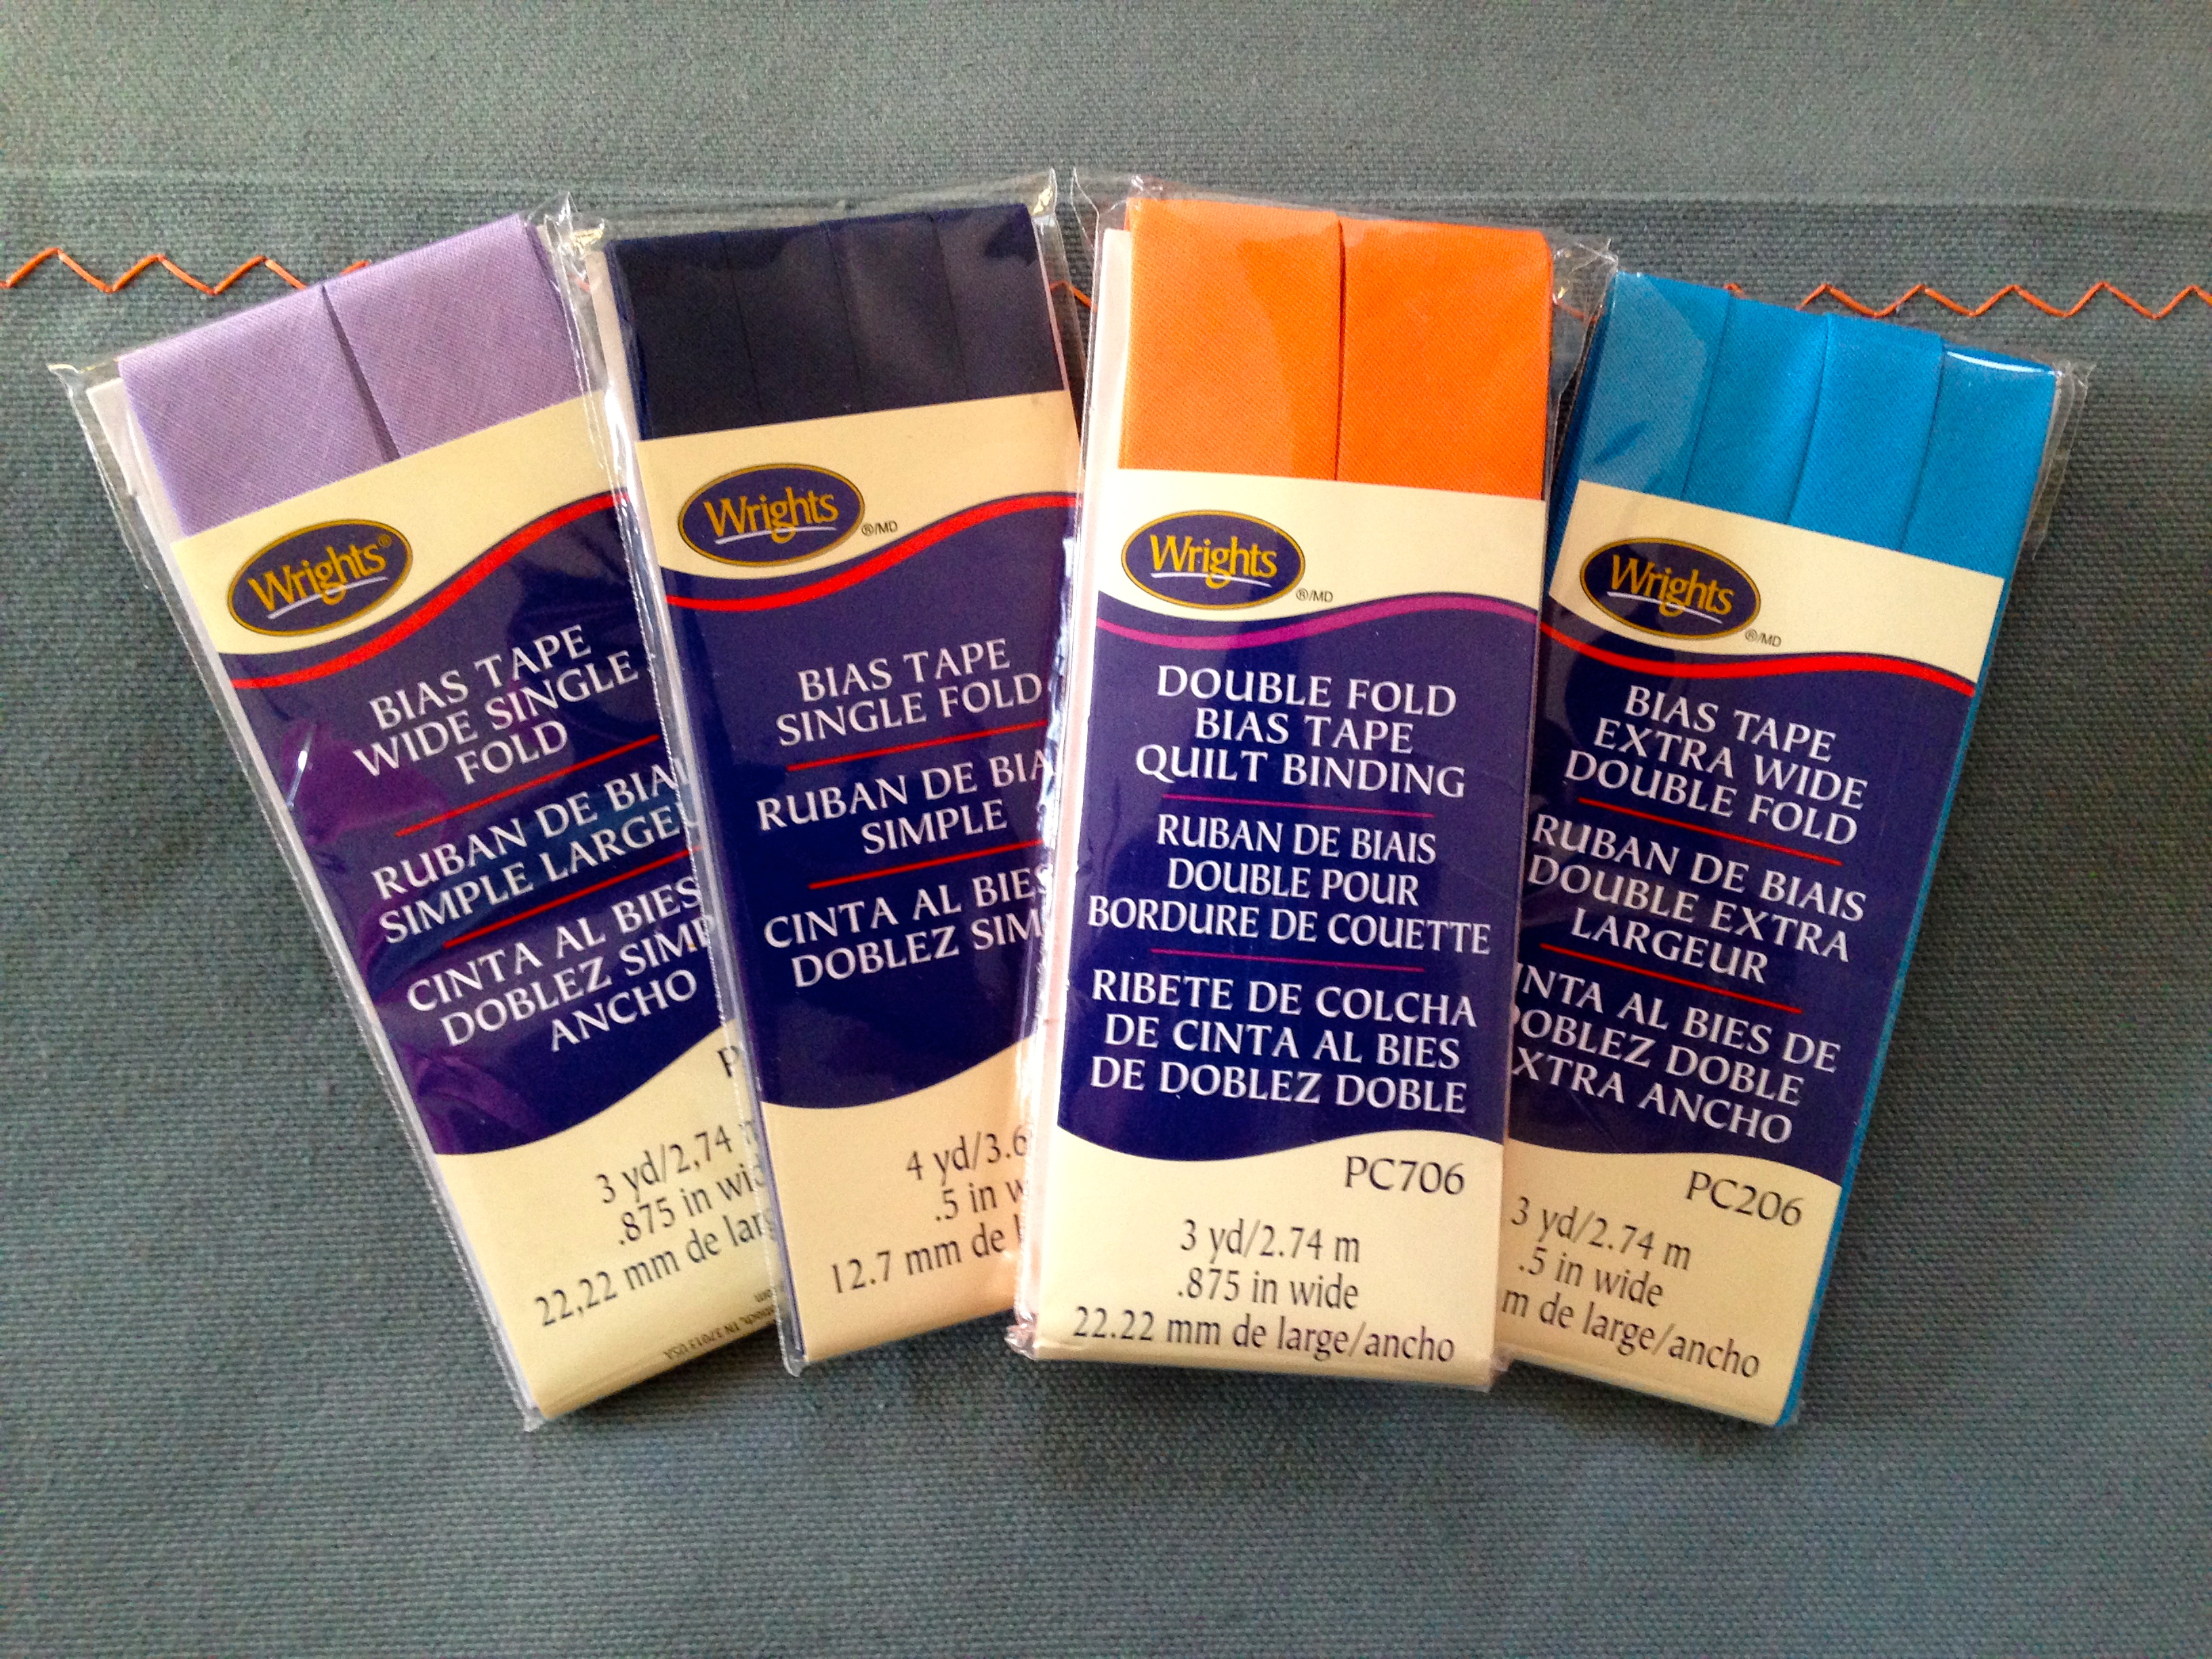
Why do they all look EXACTLY alike!? Don’t be deceived!
After some finagling, my measurements ended up being 20″ by 40″ per chair pocket. Pretty much because the math worked out really well with fabric that measures 60″ wide. I could get 3 pockets per 40″. I like easy math.
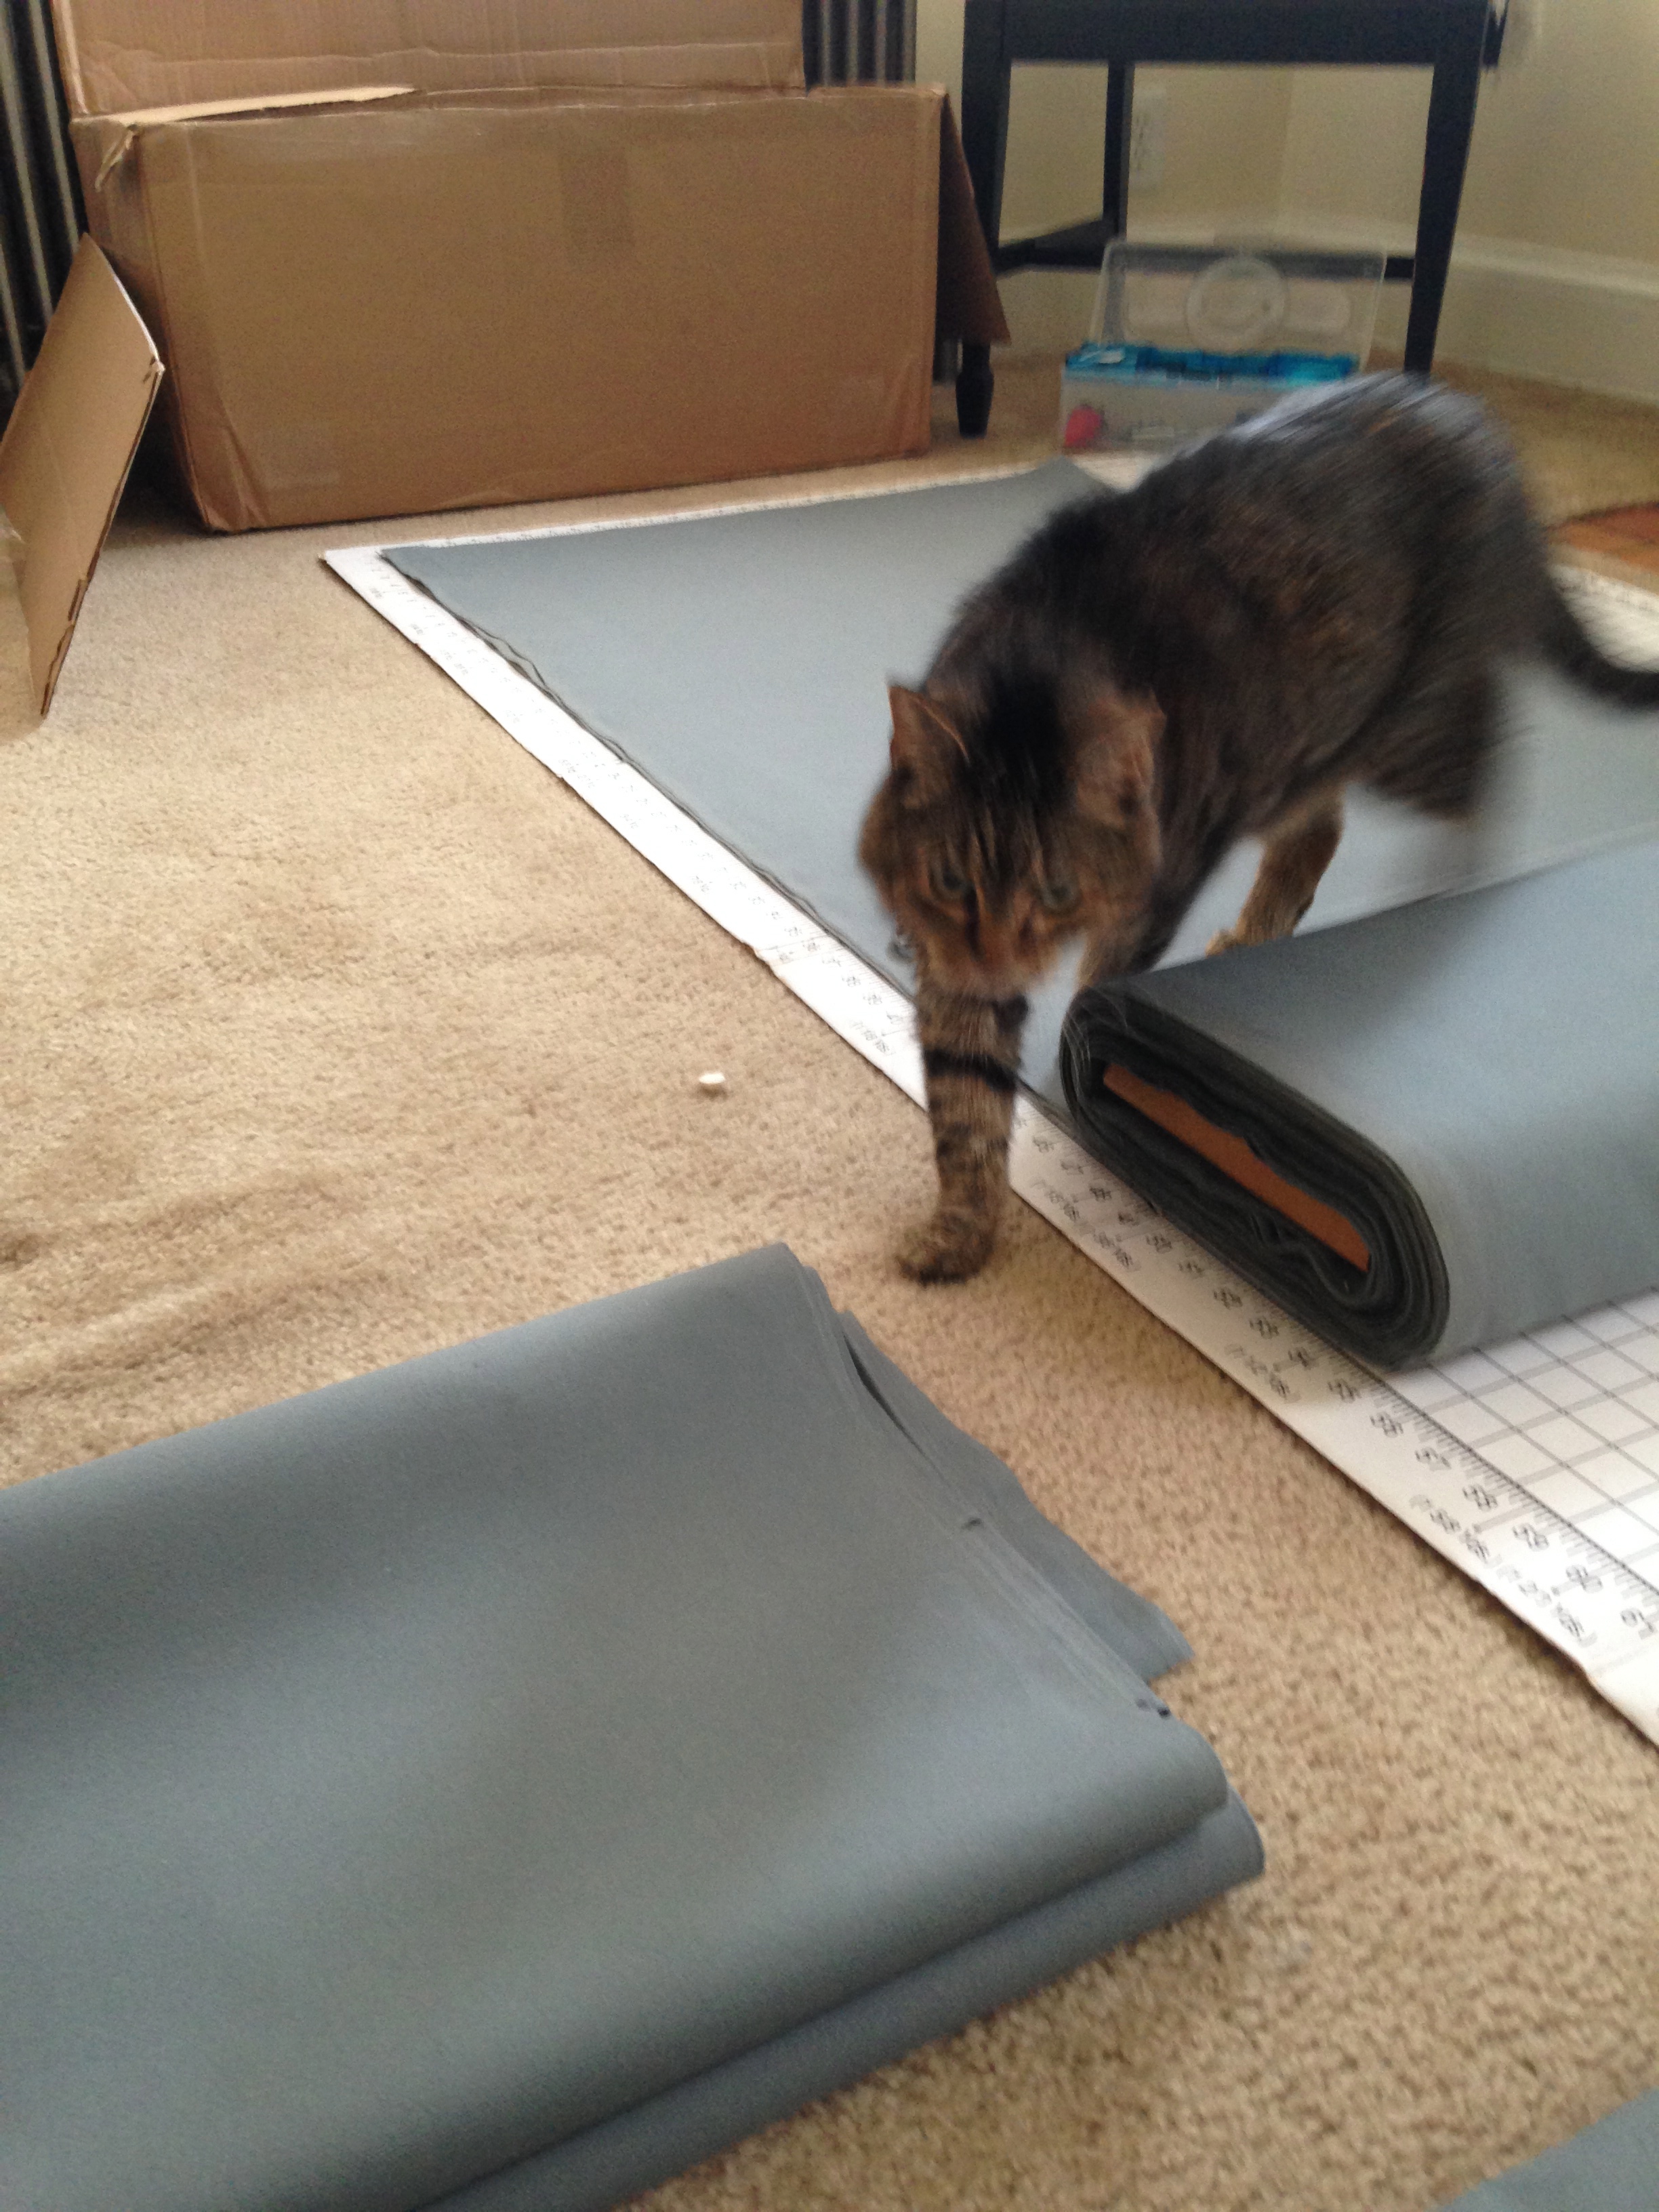
Cutting, and cutting, and cutting. With a helper of course!
After cutting, I did my ironing. I ironed about 1/2″ hem on each short side which would be the lip of my pocket and the lip of the chair flap. Then I folded the pocket up to be 11″ deep and made the total height of the chair pocket 18″. That way they were all very uniform in size and if there were discrepancies, they showed up on the over-the-chair-flap.
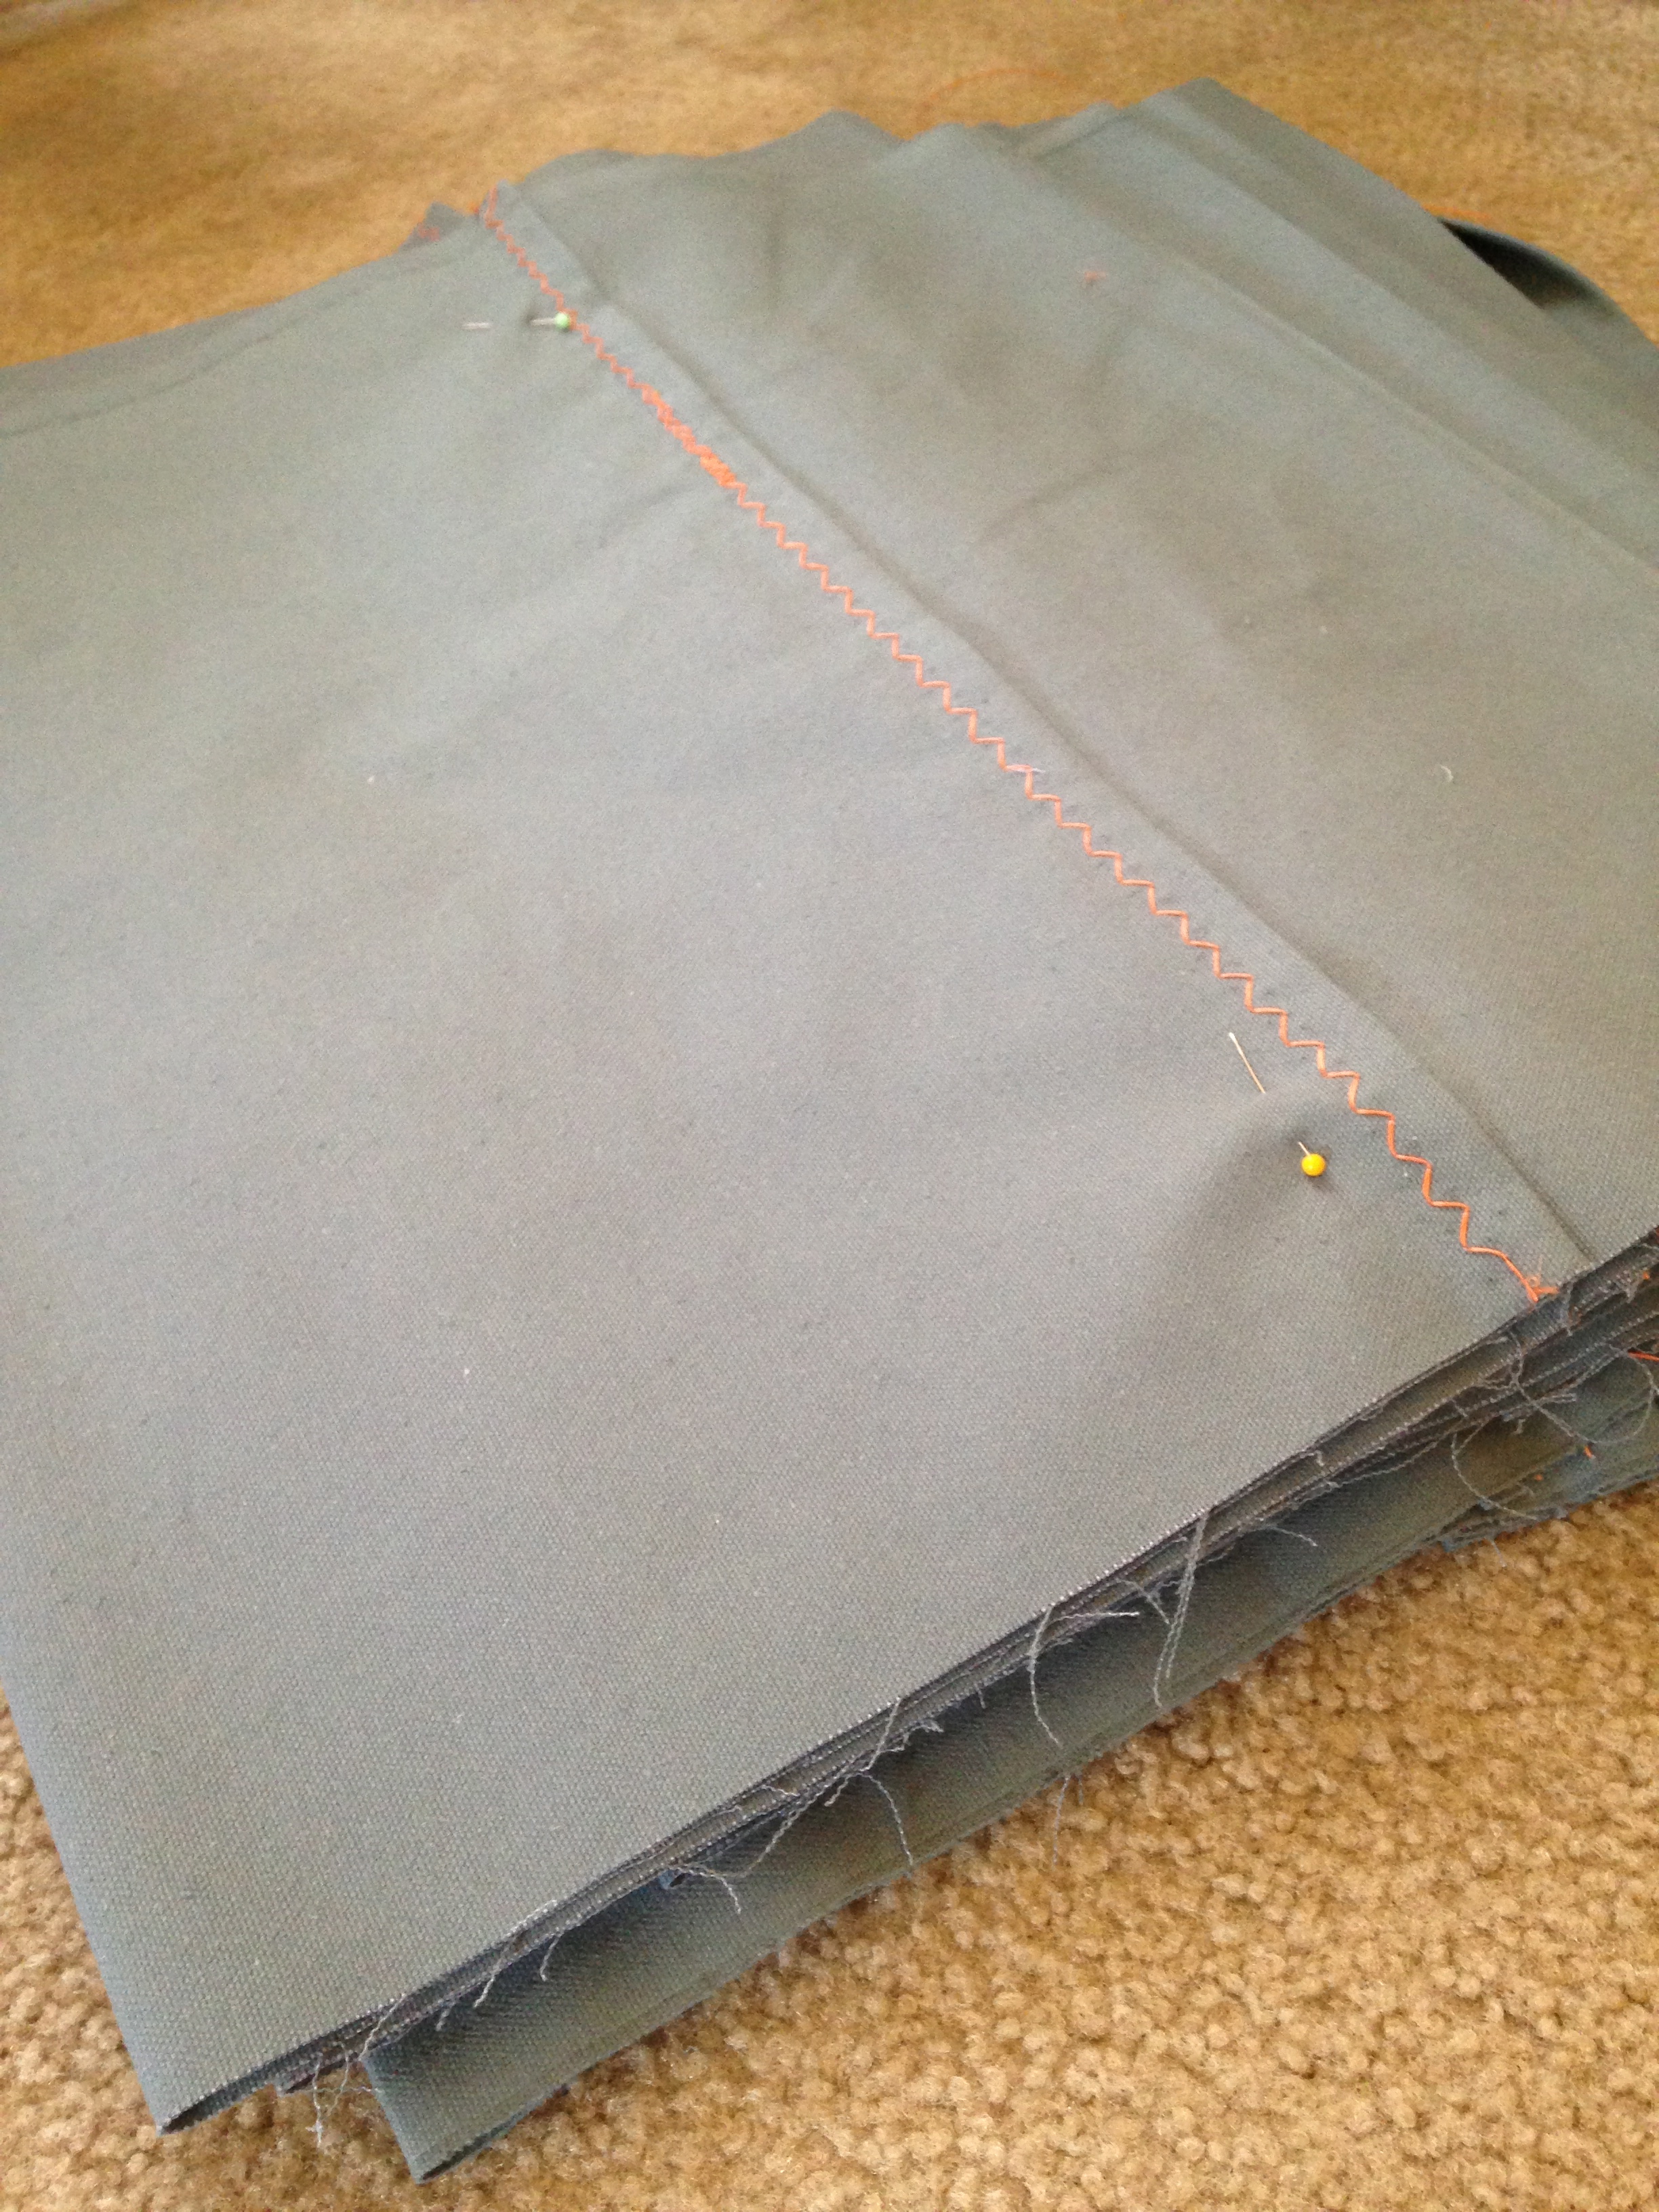
Ironed, hemmed, and ready for bias tape.
I used a zig-zag stitch on the hems, mainly because it was cute and decorative, and on the first batch I used a zig-zag on the bias tape as well. I realized through lots of trial and error that the zig-zag on the binding was more trouble than it was worth and switched to a long straight stitch on my second batch. Not quite as decorative, but a little more room for error and a little cleaner looking. Also note (because I didn’t) that double fold bias tape is a little, tiny bit wider on one side than the other. This is to ensure that your stitch will catch the other side of the bias tape if you sew shorter side up.
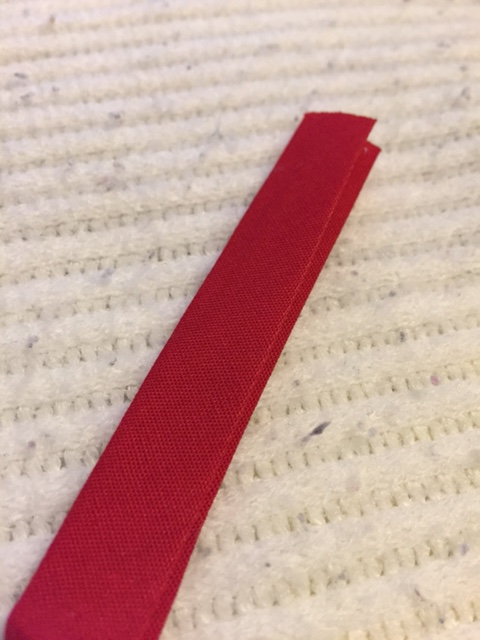
Can you see the difference in size? It’s very minimal, but makes a HUGE difference!
I wasn’t paying that much attention and screwed up a few million times. Let’s just say that I asked Santa for a new seam ripper this year. I didn’t really realize those things get dull. With enough use, they do. Sigh.
Throughout this process, I found myself fighting with the binding tool a lot. The binding would slip down and double up on itself. Or it would slide around enough just to be out of reach of the stitch… The tool is amazingly adjustable, and adjust I did. But it never seemed to work quite right so I finally gave up on it. I imagine it was intended for a stiffer binding, and, for the record, I ain’t mad at Sailrite one bit. It wasn’t the right tool for this job. But it sure is pretty :)

It looks pretty, but the binding tool didn’t work out for me on this particular project!
I toyed with the idea of sewing the bias tape on the “right” way, but after I tried it for a minute, I was like, “Oh, heck no, that’s gonna take forever!” So I snugged the bias tape up to my unfinished edges, and sent it through the machine, a few inches at a time, manually, with my needle positioned to the right and set at the longest stitch I could get. Batch 2, after all the prep work, was taking me about 5 minutes per chair pocket. That’s ONLY sewing on the bias tape! Yikes! Five minutes, 30 chair pockets, that’s more than 2 hours for just the bias tape part! I did get a lot quicker and, at the end, it was taking about 2 minutes per pocket.
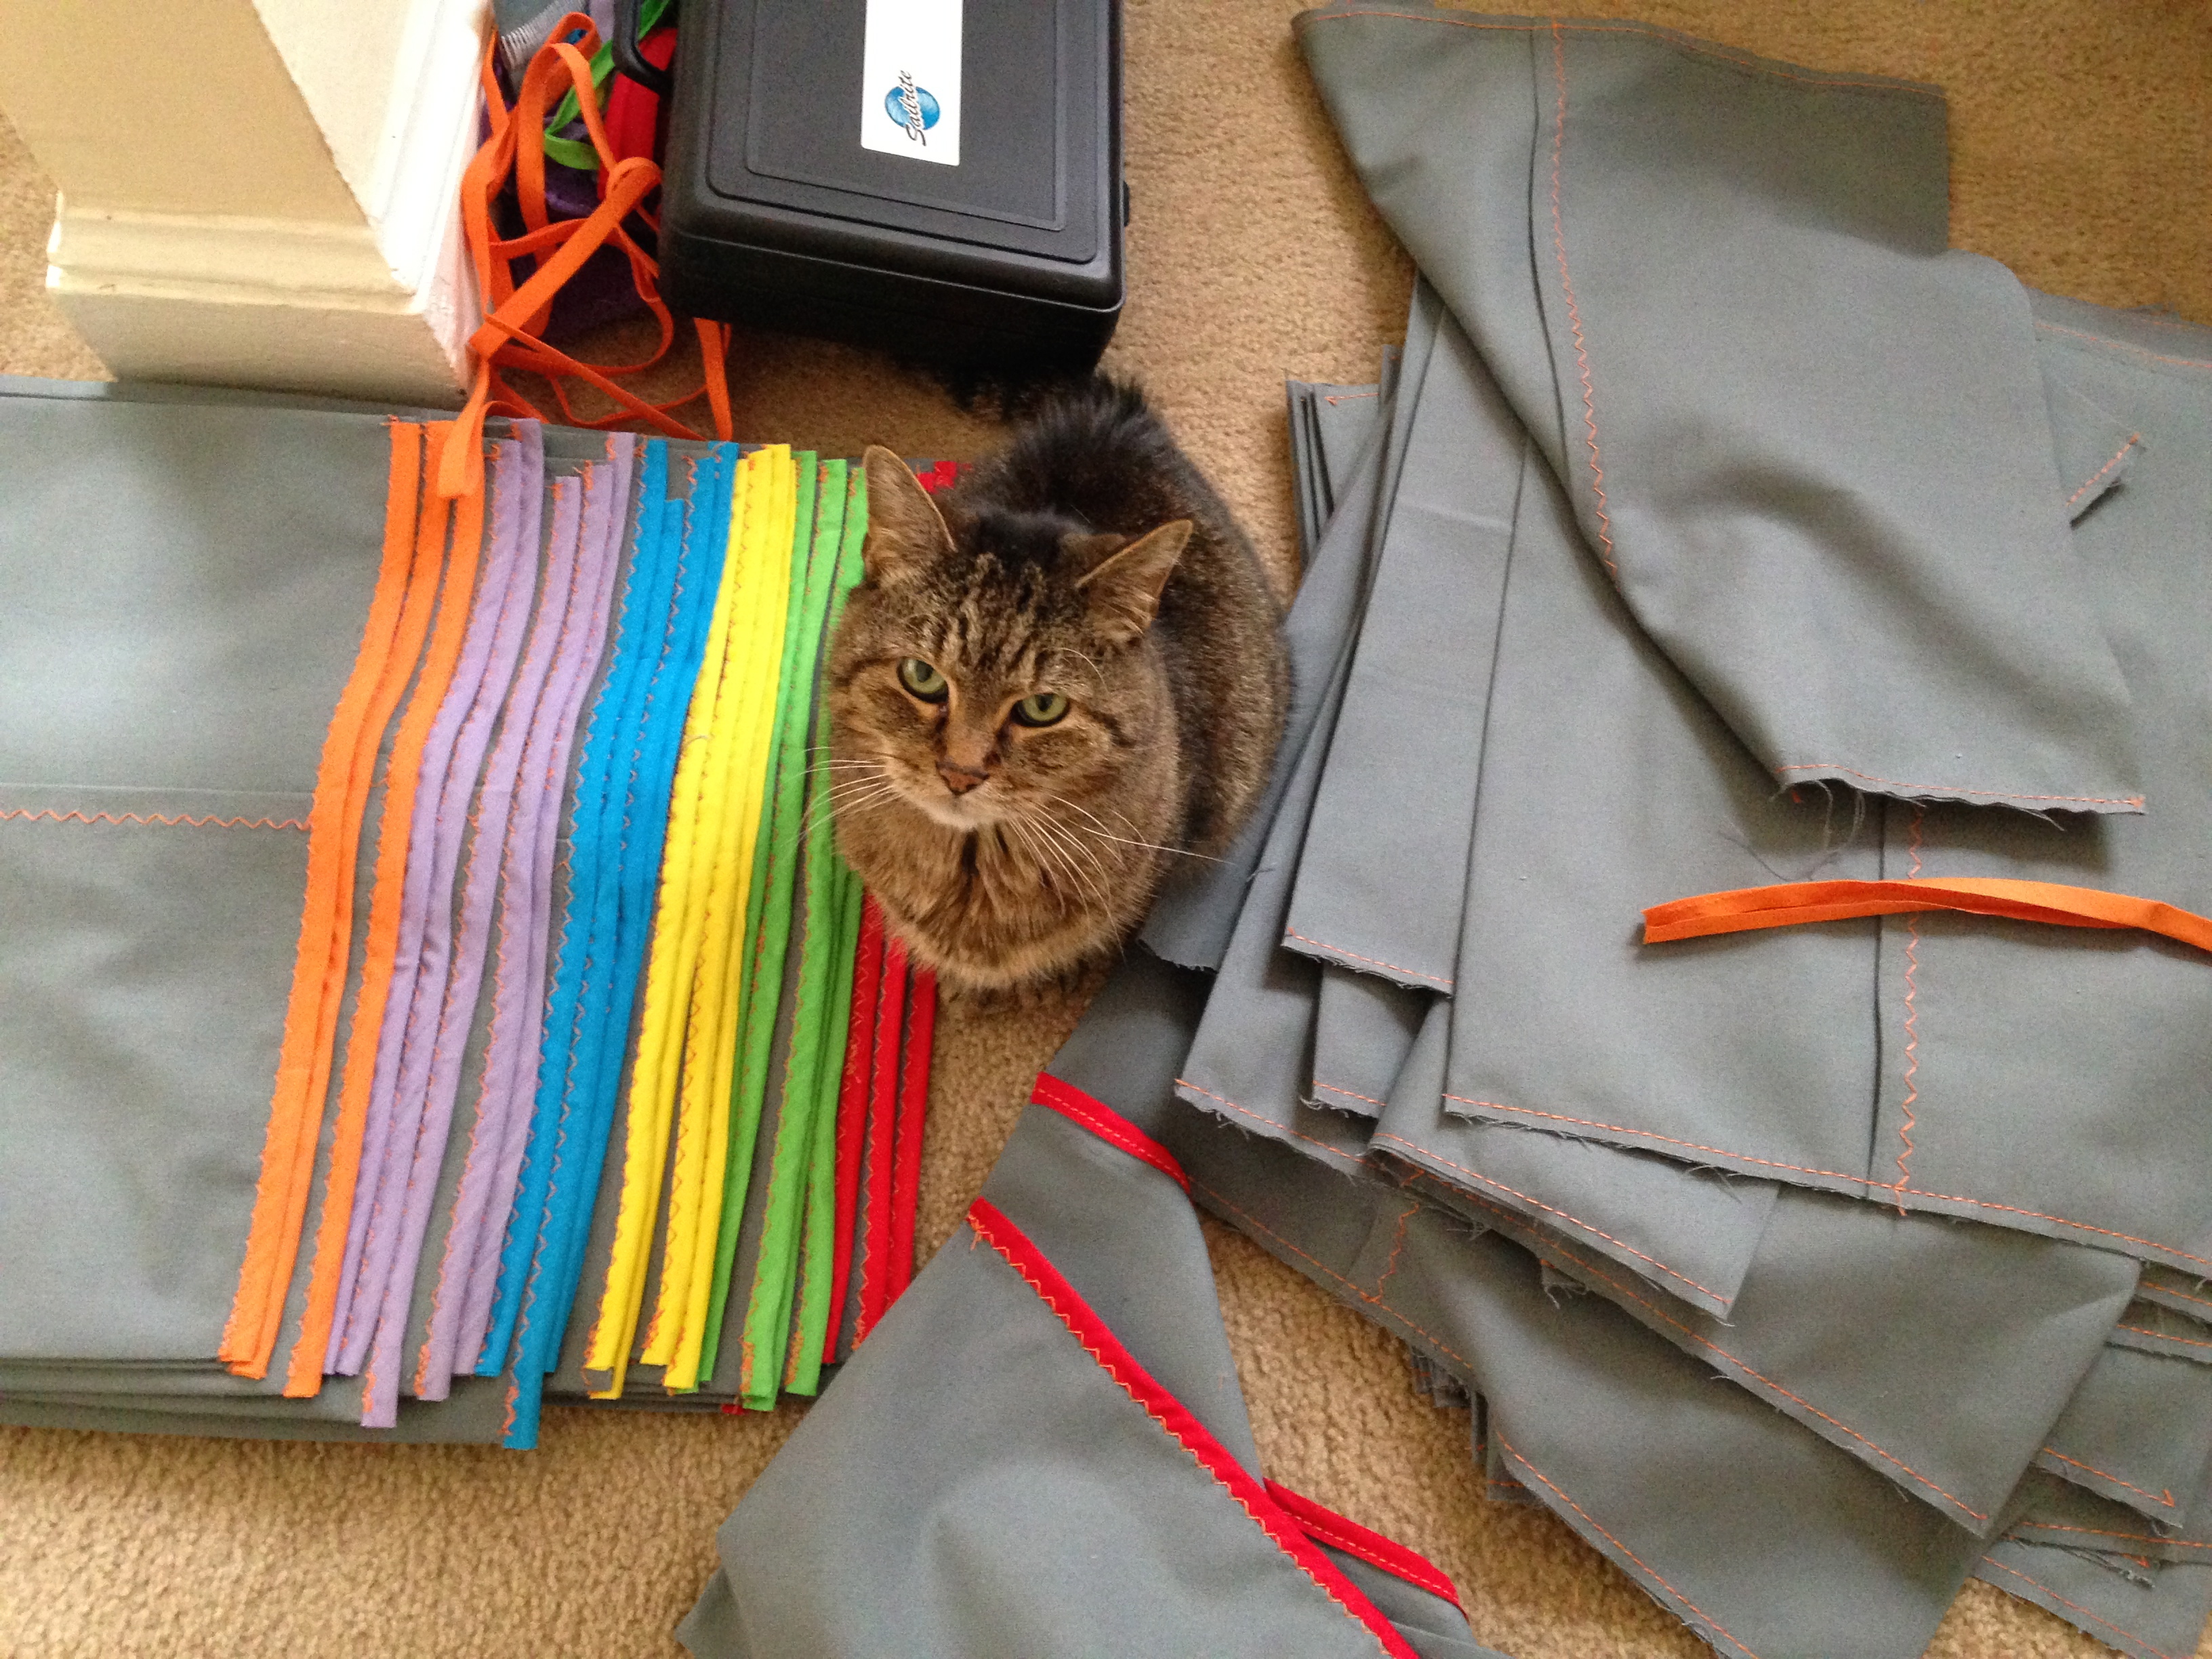
A set done! And this guy again!
I also had a reoccurring problem with my bottom stitch. In zig-zag mode, I would hear a clunk and the bottom stitch would come out looking like this:
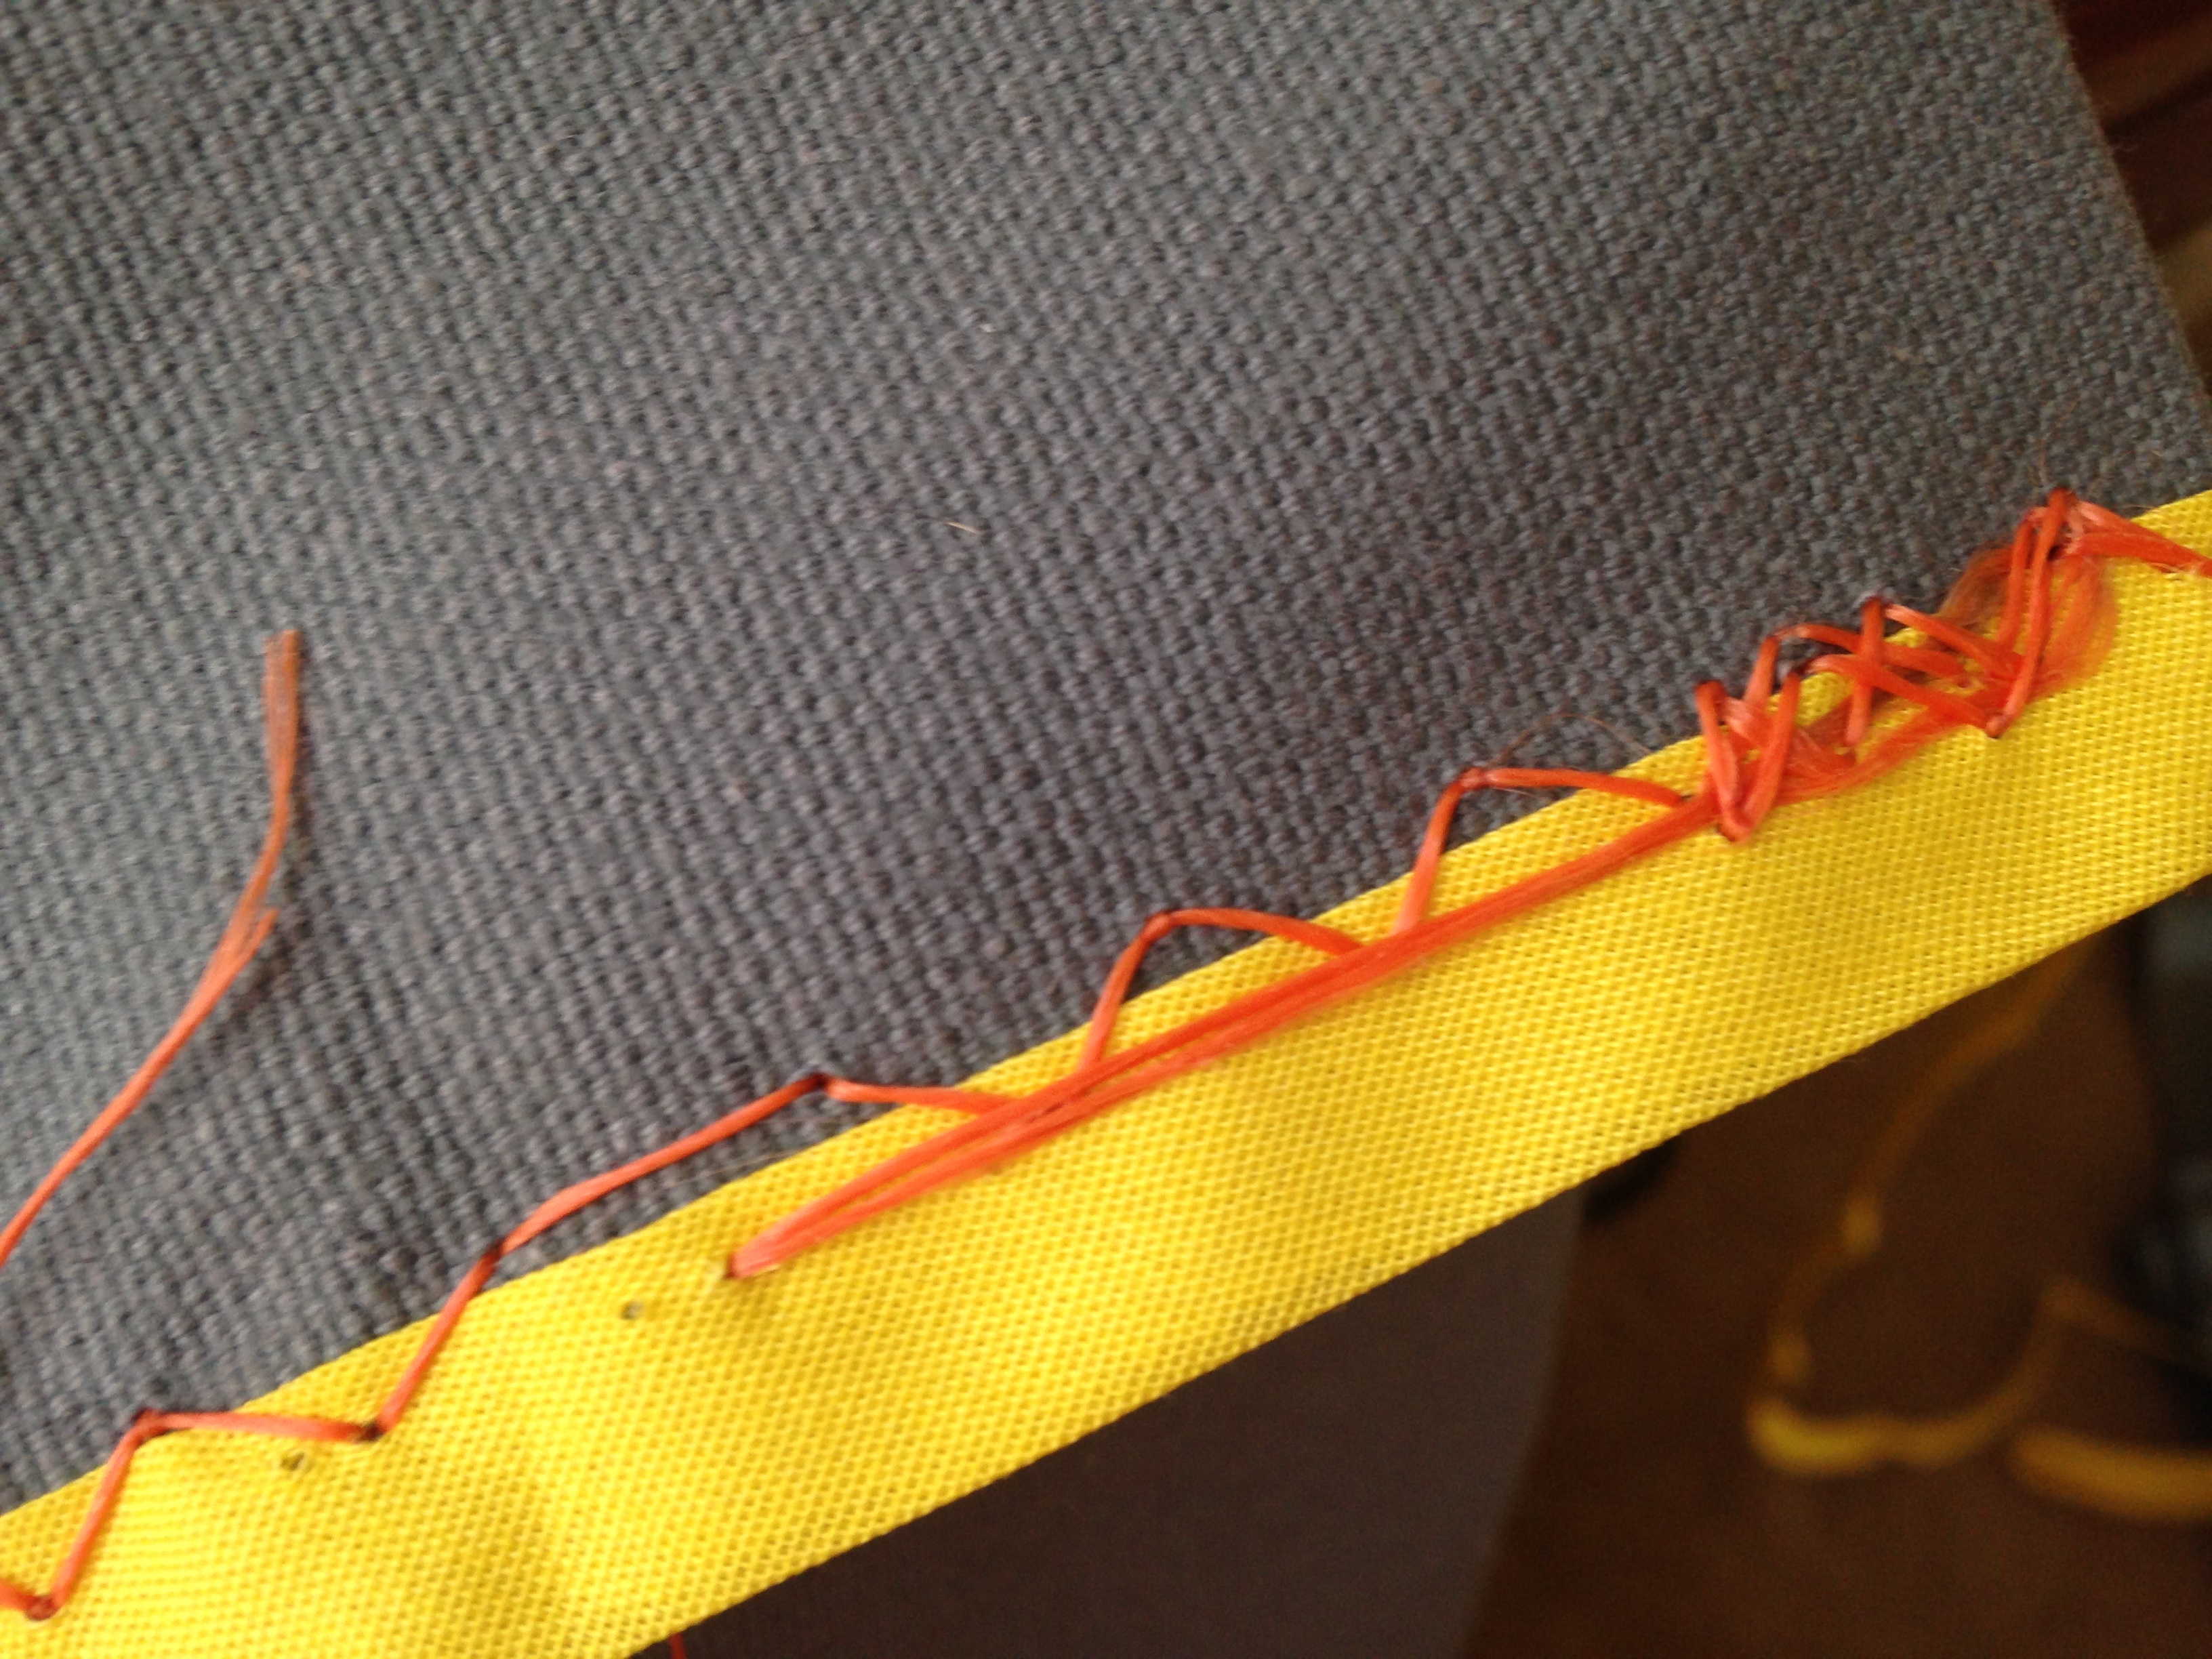
Uh oh.
Jake and I (OK, really it was just Jake) did some troubleshooting and decided it was a tension issue. We tightened the tension really tight and it seemed to get rid of this annoying problem. Thanks, Sailrite users manual!
I also added a little label to the front of my machine for tension. Tension has been my biggest issue since I started sewing, oooooh about a year ago, so instead of pulling out the manual every time I switched from straight to zigzag, I printed these little labels as cheat sheets :) Works for me.
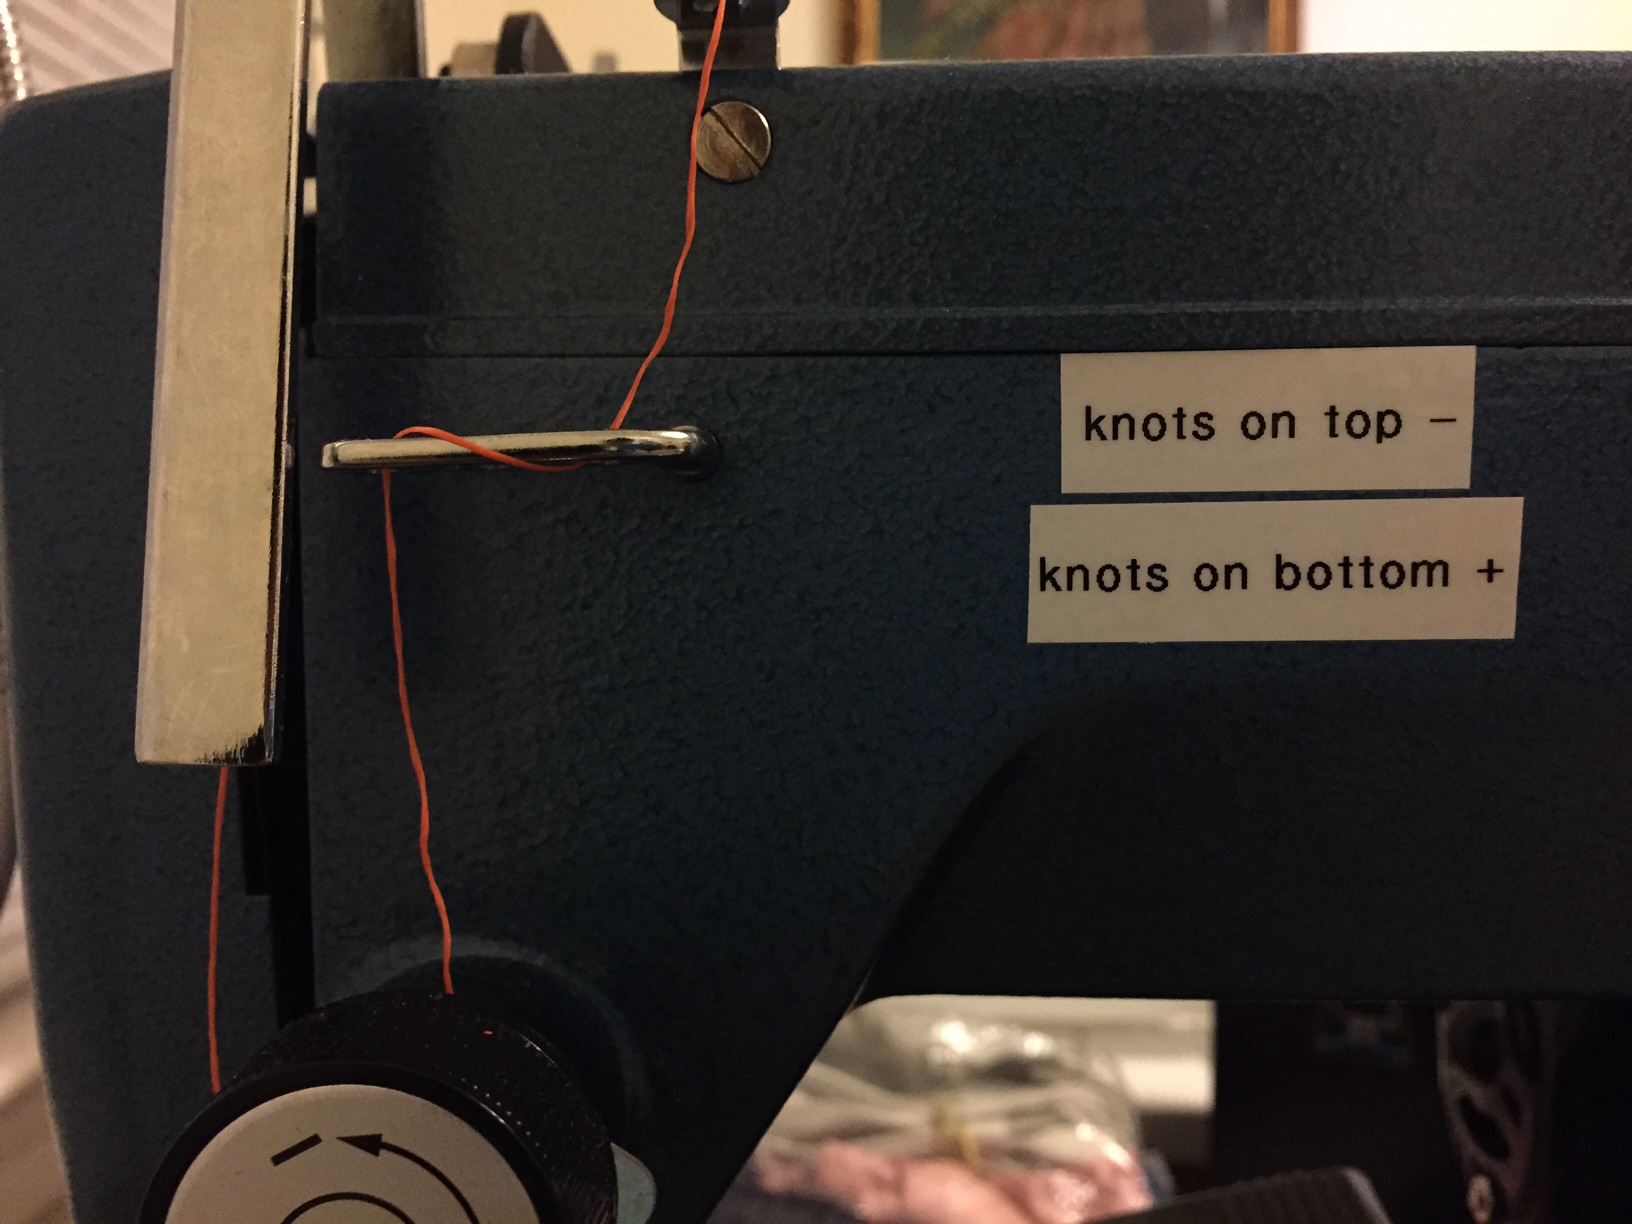
A couple of “reminders” for my new machine :)
As of now, I have 3 sets done and in use, 1 set ready for bias tape (because I botched the math), and 1 set ironed and ready for sewing. I had lots of momentum over Thanksgiving break, but once mine were done, the momentum wore off a bit :) At this point, I’m waiting for a snow day! All sets that are in use seem to be doing fine. I worry that they will wear quickest at the top where the fabric rubs the top of the chair. I may go back and sew the corners to make the top a little more round leaving more spots to absorb the wear and tear, or maybe not. Here are a couple actually in my classroom being used:

Finished and in use.
They have made my life exponentially better. The kids love them and have access to things right at their fingertips. I am super thankful for my Sailrite and for bias tape. I am also a whole lot more familiar with my sewing machine. I can thread that beast with my eyes closed now, and I can spin a bobbin in no time flat and I’m pretty sure I need the monster wheel :) I think I’m ready to tackle bigger boat projects and my list for the winter months include a new dodger, connector, and bimini. The dodger makes me very, very nervous but this has been a great project to get to know my new machine. She pretty much rocks.
