i almost started a whole new category for the experience of sewing these tricky, little boat curtains called “fml.” if ya don’t know that acronym, google it. it accurately describes my feelings throughout most of this project… but, they are now finished and lovely and functional! i even added a little detail that makes them multi-functional which is always a good thing on a cozy, little boat.
let me start by saying that there was nothing wrong with the curtains that journey came with. they were probably original to the boat, so they were a tad bit out-dated, but they were in great shape. i got the brilliant idea of replacing them because 1) i got the sewing bug and 2) i thought black-out fabric may be helpful in controlling heat. so i took them down and tried to figure out how to recreate them.

these are the original curtains on journey. not bad, but lots of light even when pulled closed.
the curtains on journey have a little track on both the top and the bottom of the curtain. i think it’s because the little “wall” slants outward and with only one track, the curtains would hang funny. anyway, the curtains that came off had 2 strips of sew on tab tape that fit nicely into their respective tracks. they also had these crazy pleats that, i’m guessing, gave the curtains a bit of texture so that they didn’t lie flat and look boring. i figured i would just kinda’ re-create the existing curtains in an interesting fabric and attach black-out fabric to the back to make it dark and cool inside journey’s cabin. easier said than done. sigh.
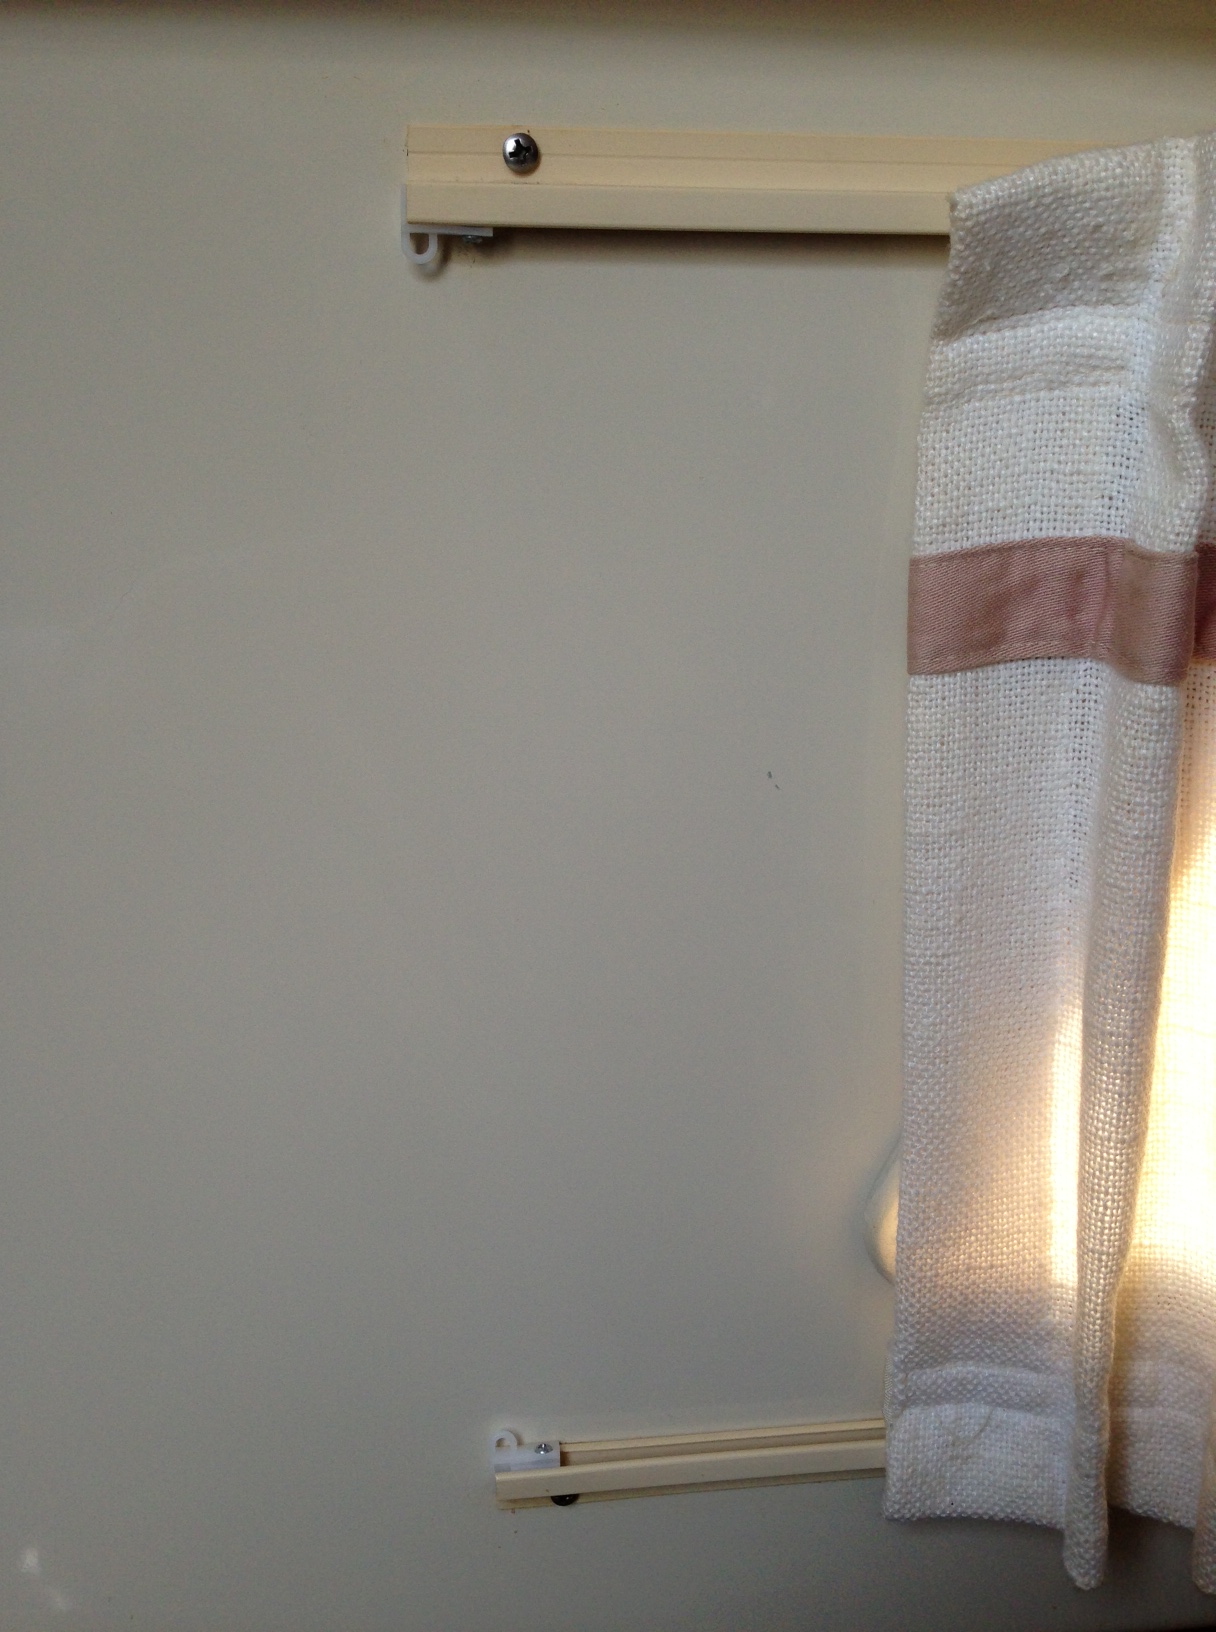
the curtain track on the top and the bottom.
my first mistake was trying to recreate the existing curtains based on those measurements instead of measuring the actual walls of the boat and the actual distance between tracks. i had washed the original curtains and as i mentioned before, they were pretty old and stretchy or maybe old and shrink-y. either way, the first panel i made was TOTALLY wrong and way too small, both in height of the curtain and distance between tabs. hmmm… i’m starting to see a pattern here! also, i should have done a test run and made a mock up of the curtain before investing a lot of love into an actual curtain with the real, actual fabric i was planning on using! duh. needless to say, it went right into the trash.
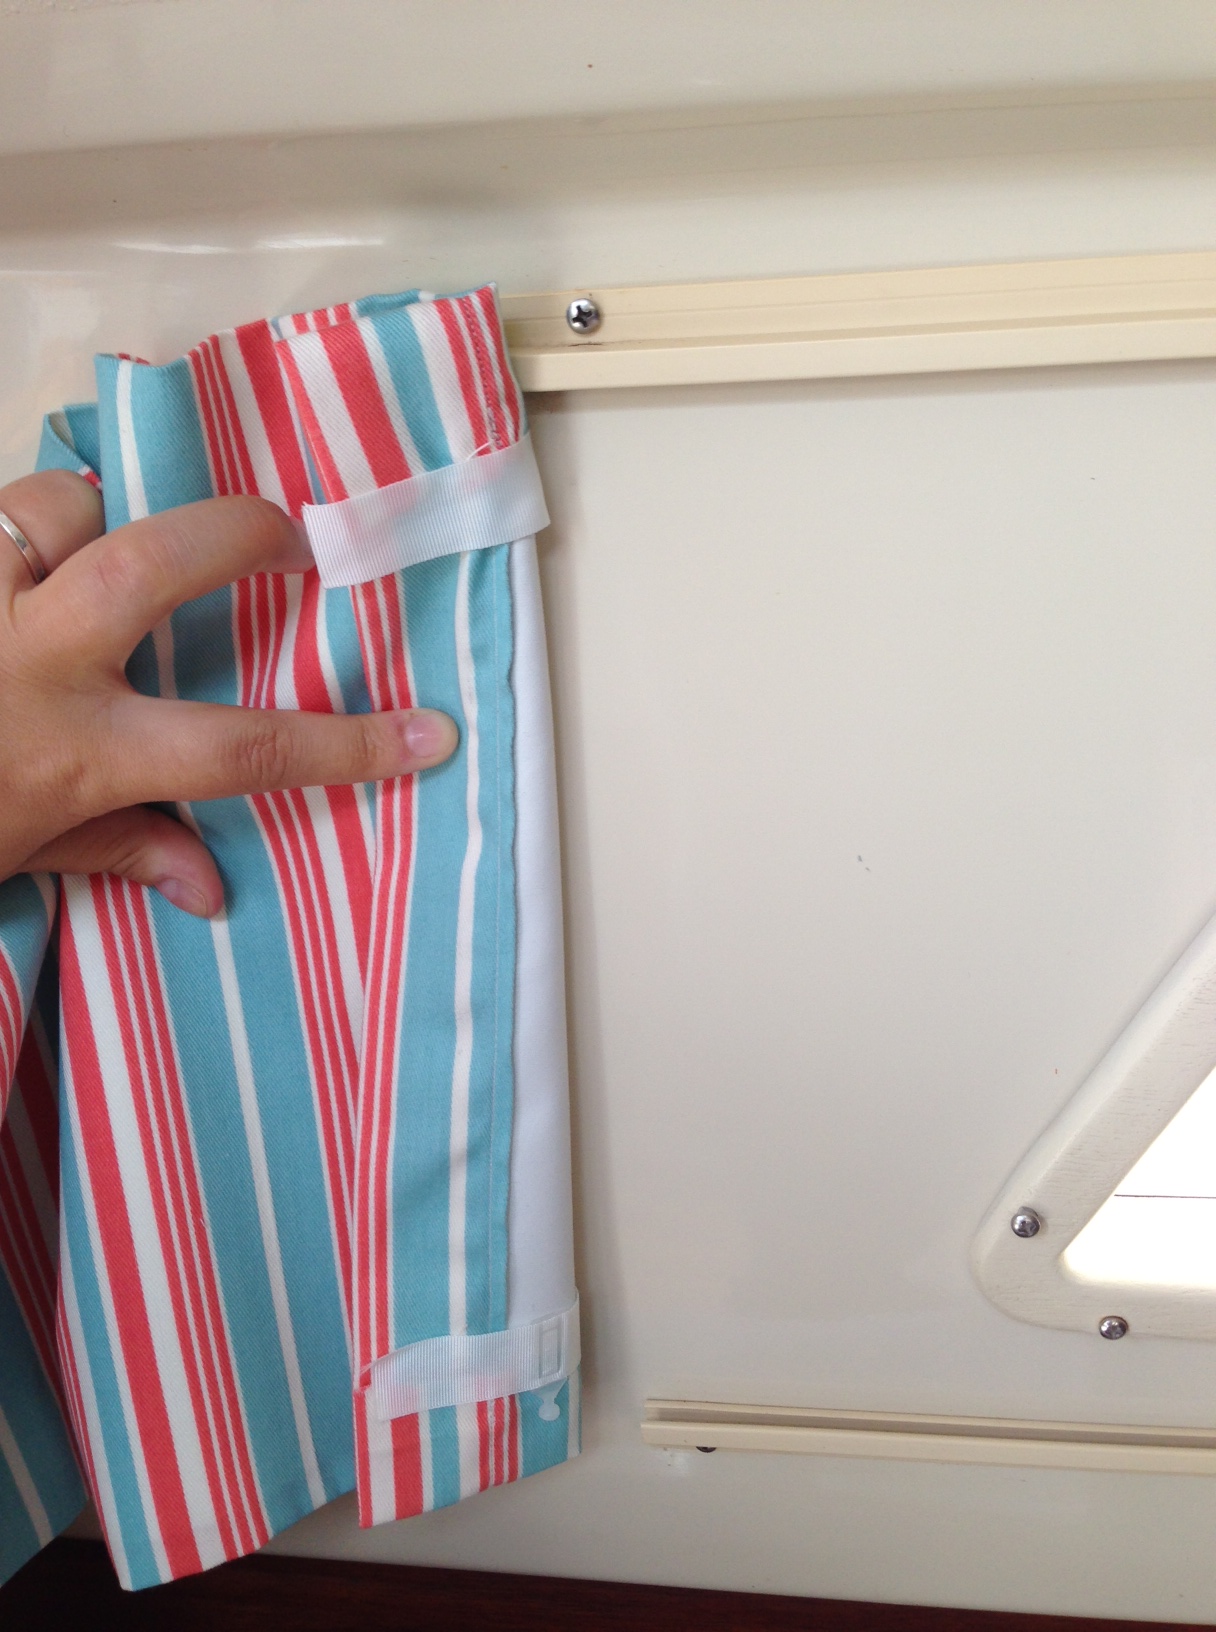
my first attempt was too small. the stripes were ick anyway :)
another mistake i made was jumping in too quickly with the whole blackout fabric thing. i went to the fabric store, found a cute canvas-y fabric and then tried to figure out how to attach blackout fabric to it. i learned a whole lot about fusing in a short amount of time and i am thankful for that. but, once i stumbled upon these babies, it all went out the window!
the story behind how i came across these blackout curtains is for another day… but let’s just say we inherited a few sets in a very appropriate boat blue color and they quickly trumped the striped canvas, the blackout fabric, the fusing, and the hem on every side mess i was working with!
so, i regrouped and made myself some boat curtains. it went a little like this:
1) i measured the boat “wall” in the shortest spot in order to find the longest height of the curtain.
2) i measured the track from top to bottom to find where the tips of the tabs should lay. i found that the track was closer together in the middle and farther apart on each end. why? how annoying. i used the farthest apart measurement and hoped the pleats would disguise the difference.
3) i borrowed some of the measurements form the original curtains like, the hem widths and the overall width of each panel without the pleats.
4) since i was now using real curtains instead of fabric, i was able to use the already existing width ’cause it was pretty close to what i needed. that meant i didn’t have to hem either side, only the top and bottom of the curtains! score! also, since i was adding the tab tape, i didn’t need a finished hem, because the tape covered it! how’s that saying go, “work smarter, not harder!”
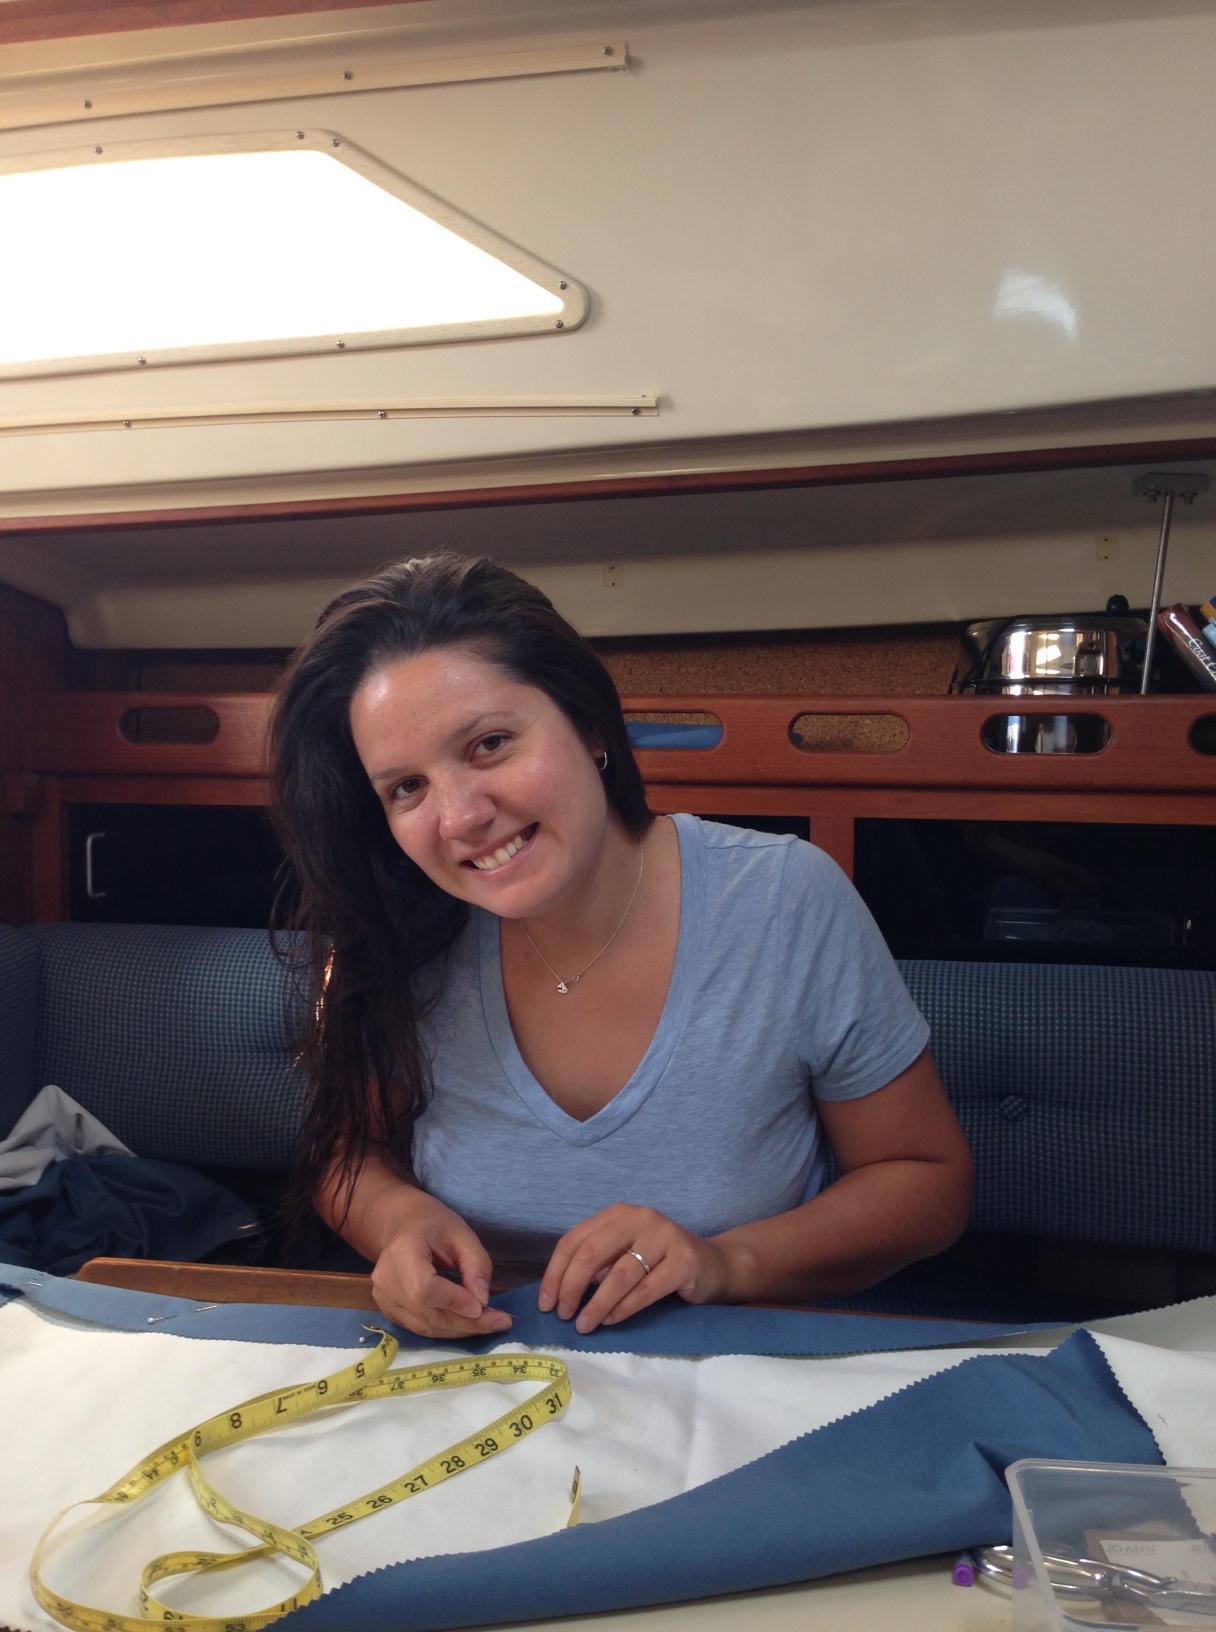
cutting, measuring, and pinning oh my!
5) i have learned that sewing is 90% cutting, pinning and ironing and 10% sewing. it really should be called “prepping” and not “sewing.” i cut, pinned, and ironed ONE panel and pinned on the tab tape as well. as much as i wanted to get all the panels cut and pinned (there were a total of 6 panels) i refrained because i knew i needed a test panel to make sure my measurements were accurate this time.
6) next i put up the test panel and it was good to go! i did make some minor changes, so i ended up not using the test panel and created 6 new panels.
7) after all of the panels were hemmed i used basting tape to attach the tab tape. i also pinned it before i sent it through the machine. this went ok however my presser foot kept getting stuck on the tabs so i had to release the pressure on the foot and pick it up a little before it went through the machine. the needle was fine, i used a #14. the only issue i had was the needle getting all gunked up from the basting tape which caused me to lose a couple of needles. i had to stop every once in a while to clean the needle so that the thread ran smoothly through it.


8) last were the pleats. again, i used the old curtains for the measurement of the pleat. i measured how far in the pleat was sewn from the center of two tabs. then, i put blue painters tape on the machine so that all i needed to do was fold, line up, and sew.


9) inspired by the first photo in this post from windtraveler, i decided to add a little ring fastener to the bottom of the curtain, that would allow us to hang sunglasses over our nav. table. i love the idea of using vertical space on journey since i am super guilty of cluttering any and all flat surfaces at home, at work, and yes, even on the boat! it turned out great, as you can see below and i got to practice my hand sewing… in the cockpit… on a beautiful day. boat sewing is nice.


there ya have it, my longest post thus far. if you are looking to diy some boat curtains, i’m happy to give ya more details like measurements and stuff. my next undertaking will be our binnacle cover which involves PATTERN MAKING! eek! wish me luck!
